The Cricut Joy Xtra arrived in a box smaller than the one my blender came in, and I remember thinking there was no way it would keep up with a Saturday of shirt orders. Four months later it has cut iron-on vinyl for a youth soccer team, cardstock for a booster club fundraiser, and more sticker sheets than I want to count. It has also jammed, mis-cut, and taught me a few things the listing photos never mention.
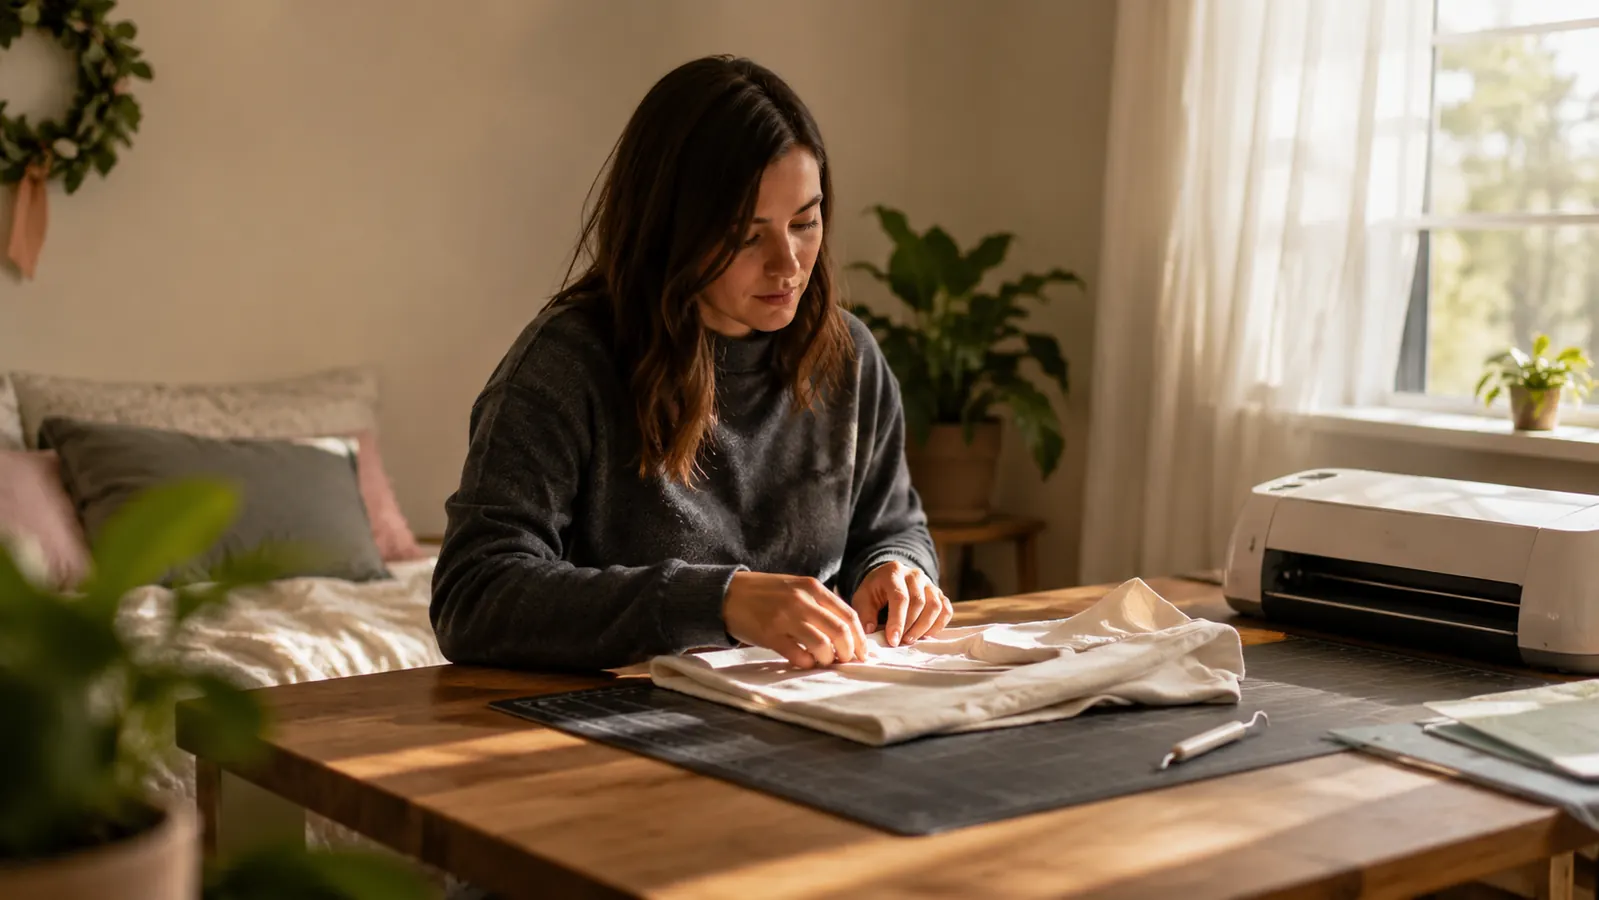
I run a small heat press and sublimation business out of the spare bedroom in our house in Vancouver, Washington. Glen and I load the car most weekends for craft fairs, and the rest of the work comes from school booster clubs, youth sports teams, and a small online shop. Before the Cricut Joy Xtra, every vinyl job meant clearing the whole worktable for a bigger machine. Now most of my shirt orders run through this one, and the larger machine only comes out for full back prints.
The Quick Verdict
A small automatic cutter that handles everyday iron-on vinyl, cardstock and sticker work cleanly, provided you plan your cuts around its 95.94 square inch work area.
Amazon Check Today's Price →It Earned the Corner of My Worktable, and It Can Earn Yours
If most of your orders are pocket logos, name decals, mug wraps and sticker sheets rather than full back prints, this is the machine that keeps a small press room moving. Check the current price and what the bundle includes before you decide.
Amazon Check Today's Price on Amazon →How I've Used It
I bought it in the spring, mostly for kids' shirt orders where I need twelve to twenty pieces, not two hundred. The large runs still go to my bigger setup. The Joy Xtra sits on the corner of my worktable with a cutting mat, a weeder and a roll of iron-on vinyl within arm's reach, and it stays plugged in so there is no setup ritual before a job.
The first week I treated it badly. I fed a long roll of iron-on through it expecting the machine to hold the material straight the way my other cutter does, and the vinyl drifted halfway through the cut. Here is what actually comes in the box: the machine, a Fine-Point Blade, a Fine Point Pen, a Mini Weeder, a Welcome card, a USB cable, a power adapter, and 30 bonus digital images. That is the whole starter kit. A cutting mat is a separate purchase, and honestly it matters more than I expected it to.
Once I started sizing each cut to the mat instead of trying to run continuous lengths, the results got consistent. A dozen youth soccer jerseys took an afternoon including weeding. Twenty heat-transfer name decals for a booster club fundraiser took longer because I was reloading sheet by sheet, but nothing failed and nothing had to be recut. For what I actually sell, that is the whole test.
What It Cuts and What Comes in the Box
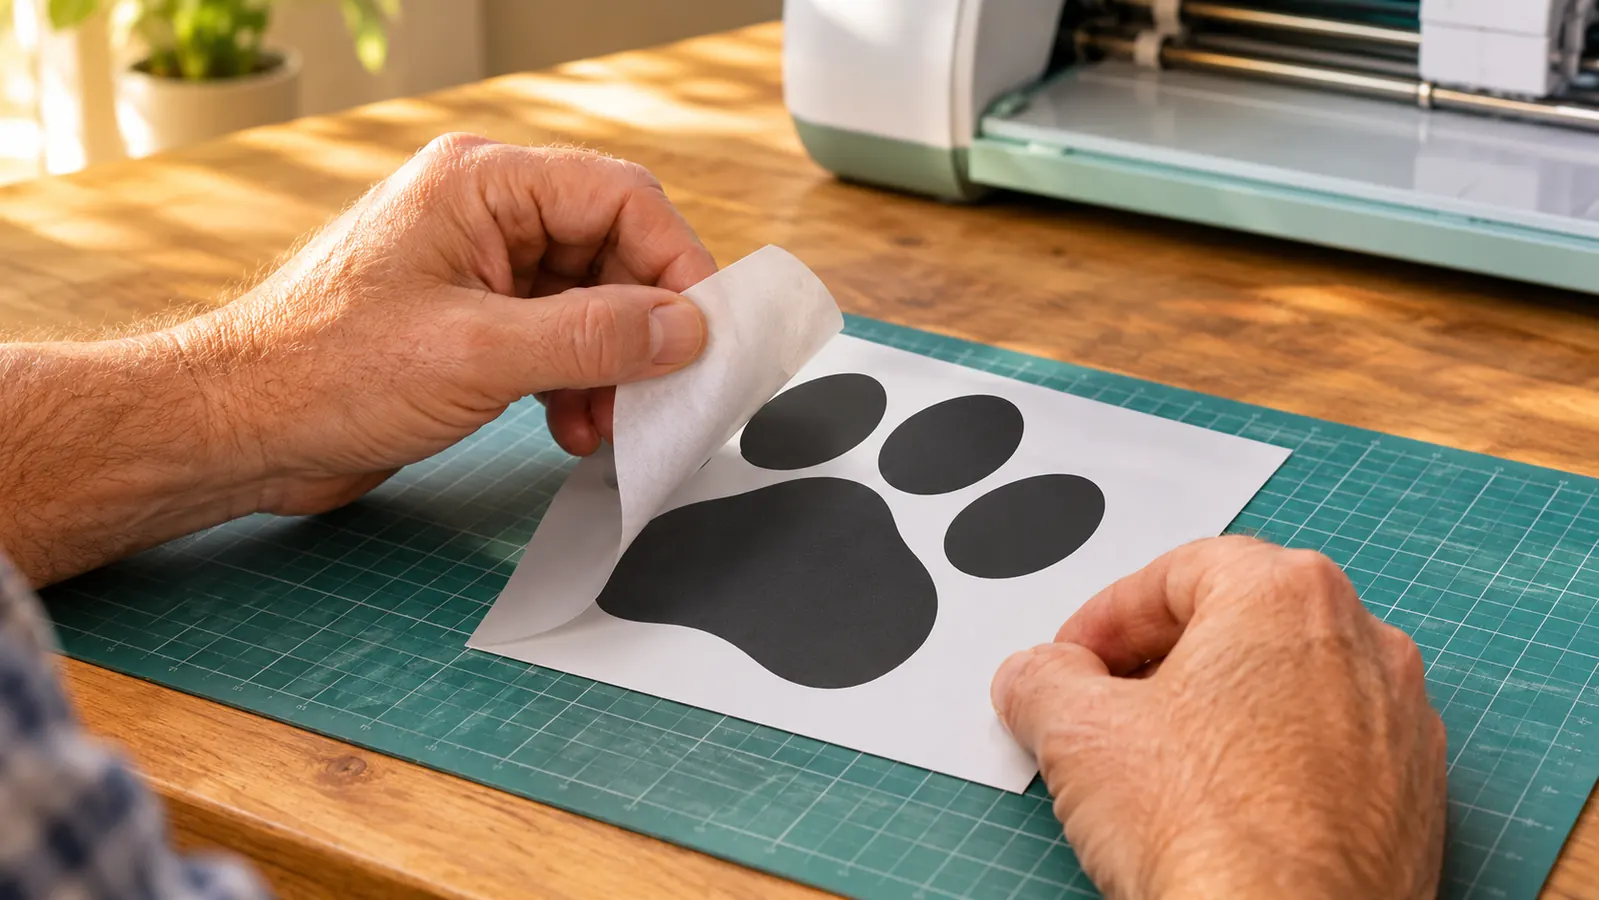
The listing says 50+ materials and I have tested maybe a dozen of them. Iron-on vinyl is the bulk of my work and it cuts cleanly. Adhesive vinyl for tumblers and car decals does fine. Cardstock is where the machine surprised me, because it handles heavier weights far better than the small footprint suggests. Stickers work through Print-Then-Cut, which is compatible with an inkjet printer.
The number that governs everything is the active surface area, 95.94 square inches. You are not cutting a full shirt back in one pass on wide vinyl. You are cutting to fit that area, which is perfectly fine for pocket logos, name decals, small front chest designs and mug wraps. I design in sections and line them up on the shirt, and in four months nobody has noticed.
The machine itself weighs 250 grams. I move it between the worktable and a shelf when I need the surface back, one hand, no effort. In a converted bedroom where every inch is contested, that is not a small thing. It also runs automatically once you send a job, which sounds like a throwaway line until you have used a cutter that needs more babysitting than the actual pressing.
One detail I did not appreciate until I had used it for a while: the Fine Point Pen means I can draw a guide or a name onto cardstock without a separate tool, which sounds minor and turned out to be useful for table signs at craft fairs. Same machine, same pass, no extra purchase.
The bundle math is worth walking through, because it decides whether this is a starter kit or just a machine. Blade, pen and weeder are the three things you reach for constantly, and all three are in the box. What is not in the box is the mat, and until the mat arrives you cannot cut anything at all. My advice is to order the mat in the same week, in the size that matches the material you plan to cut most, or you will spend day one reading the manual instead of cutting.
Sunday afternoons turned into my sticker block, because Print-Then-Cut is slower than a straight vinyl cut and I do not want to be running it at nine at night before a fair. I print four sheets at a time on the inkjet in the office, let them dry on the worktable while I weed a shirt design, then feed them one by one. That order of operations took me a month to figure out and it cut about forty minutes off an average sticker batch.
Four Months of Shirt Orders: What Held Up
Four months in, the blade that came with it is still cutting cleanly, though I swapped in a fresh one around the three-month mark because iron-on vinyl dulls a blade faster than paper does. The Mini Weeder is small, genuinely small, and it still does fine work on tight lettering. I lost it twice and found it both times.
The workflow is the part I did not expect to appreciate. I send a cut from my laptop, walk three steps to the press to finish the shirt I was already on, and come back to a finished sheet. The machine is compatible with computers, tablets and smartphones, so I have also sent a job from my phone while standing at a craft fair table, which felt absurd the first time and then became completely normal.
One Saturday in June I had a youth baseball team order come in mid-morning, fourteen shirts, parent names on the sleeve and a team logo on the chest. I sent the sleeve names as one job, cut them in a single sitting, and pressed all fourteen before lunch. The chest logos went the same afternoon. A year ago that order meant clearing the table twice and moving a heavier machine by hand. This time the only thing I moved was a mat.
What has not held up is my patience for long, narrow cuts. Anything longer than the mat forces you to break the design into sections and line them up by eye. On a name decal that is nothing. On a full back print it is a real constraint, and it is the reason I have not retired my larger machine and would not pretend this one replaces it.
It has also been dropped once, off the corner of the table onto a wood floor, and it kept cutting. That is not a warranty claim, it is just information. I would not recommend testing it.
Print-Then-Cut, and Where It Fits My Business
Print-Then-Cut lets you print a full color design on an inkjet printer and then have the machine cut around it. I use it for sticker sheets and for small character decals on kids' birthday shirts. Setup took me two tries because the registration marks have to print cleanly. Once I stopped printing on draft quality, it worked every time.
The 30 bonus digital images in the bundle carried a set of thank-you stickers I made for a booster club, and they were nice to have. They are also not the reason to buy. The reason to buy is that a full color design can become a finished cut sticker without a second machine taking up desk space you do not have.
This is the feature that made the purchase make sense to me. I do not sell much full color sticker work, but the few orders I have taken were the kind a customer remembers, and they were the kind I could not have filled with a vinyl-only cutter in that footprint.
A word of warning on printer paper: sticker paper has to feed straight or the registration is off and the cut lands beside the design. I check the sheet before it goes in, every time, and I have not had a bad one since.
What I Got Wrong in the First Month
Two mistakes cost me material. The first was loading iron-on vinyl without checking which side faced down. The second was trying to cut a design sized for my larger machine without scaling it to the 95.94 square inch area, which meant the design ran past the mat and the last inch of the cut came out ragged. Neither is the machine's fault, and both are the sort of thing that stops happening by week two.
The fix for the first was a marker line on the backing paper so I could see the dull side at a glance. The fix for the second was a habit: I now size the design to the mat before I send it, not after the first cut fails. That one habit has saved me more material than any other change I have made in the press room.
There was a third mistake I did not see coming. I weeded a fresh iron-on design on the worktable while the machine was mid-cut on the next sheet, and a fleck of weeded vinyl landed on the mat. The next cut dragged it, and I lost a chest logo two days before a booster club pickup. Now I weed on a separate sheet of scrap cardstock at the far end of the table, and I wipe the mat with my palm before every load. It takes four seconds and it has not happened again.
I also learned to cut a spare. When an order is twelve pieces and the customer is picking up Friday, I cut thirteen. Twice now that spare has saved me a reprint run, once because a shirt got scorched on the press and once because a name came back misspelled. The extra minute on the cutter is cheap compared with the drive to the craft store the night before a pickup.
Where the Small Footprint Costs You
Every constraint here comes from the same place. The work area is 95.94 square inches and the machine is built around cutting to that. So: no full back prints in one pass, no long banner runs, and no cutting thirty name decals without reloading.
The other cost is mats. You need the right mat for the material, and if you are cycling between cardstock, vinyl and iron-on in one afternoon you are swapping mats constantly. I bought a second mat so one could be reloaded while the other cut, and that single purchase did more for my throughput than anything else I did that month.
There is a one-year manufacturer warranty, and I have not needed to use it. The bundle contents are what they are, and nothing more. If you already own a cutting mat, a weeder and a spare blade from an earlier machine, you are further ahead on day one than I was.
None of this is a defect. It is a design choice made in exchange for a machine that weighs 250 grams and sits exactly where you work instead of in a cupboard. The Cricut Joy Xtra is not trying to be a big machine. I just want you to make that trade with your eyes open rather than after your first wasted sheet.
What I Liked
- Cuts iron-on vinyl, adhesive vinyl, cardstock and stickers cleanly with the included Fine-Point Blade
- Weighs 250 grams, so it stays on the worktable instead of getting packed away
- Runs automatically once you send a job, so you can press shirts while it cuts
- Print-Then-Cut turns inkjet prints into finished stickers
- Bundle includes the blade, the pen, the mini weeder, the cables and 30 digital images
Where It Falls Short
- 95.94 square inch work area rules out full back prints and long runs
- Mats are sold separately and you will want at least two
- Long narrow cuts have to be broken into sections and lined up by hand
- Not a replacement for a larger machine if you take volume orders
One Saturday in June, fourteen youth baseball shirts with sleeve names and chest logos went from a mid-morning order to pressed and folded before lunch, and the only thing I had to move was a mat.
Who This Is For
This is for the person taking small batch orders: a dozen shirts for a team, twenty name decals for a fundraiser, a run of mug wraps, a stack of sticker sheets. It suits a spare bedroom, a kitchen table that has to become a table again by dinner, and anyone who wants the machine sitting out rather than packed away between jobs.
If your work is pocket logos and front chest designs, the 95.94 square inch area will not feel like a limit at all. If you sell at weekend craft fairs and want to cut while you press, it fits that rhythm better than a big machine does, because you can reach it, feed it and keep going without clearing space you do not have.
Who Should Skip It
Skip it if your work is full back prints, long banner runs, or volume that keeps you reloading all afternoon. Skip it if you want one machine to do everything and you have the room for a larger one. And skip it if you are not prepared to buy the correct mat for each material, because that is where most of the frustration with small cutters actually comes from. The machine is not the weak point. Going in with the wrong expectations is.
If Your Orders Look Like Mine, This Is the Cutter to Start With
Twelve to twenty pieces at a time, pocket logos and name decals, a small room and a press you can reach in three steps. That is the job this machine was built for, and four months in it is still the one I reach for first. Check today's price and confirm what the bundle includes.
Amazon Check Today's Price on Amazon →