
The first heat transfer vinyl shirt I ever made looked perfect for about six days. Then the edge of the lettering lifted in the wash and the whole design curled up like a dead leaf. I blamed the press. I blamed the vinyl. The real problem was the cut. A ragged, half-torn edge gives the adhesive almost nothing to grip, and no amount of pressure later will save it.
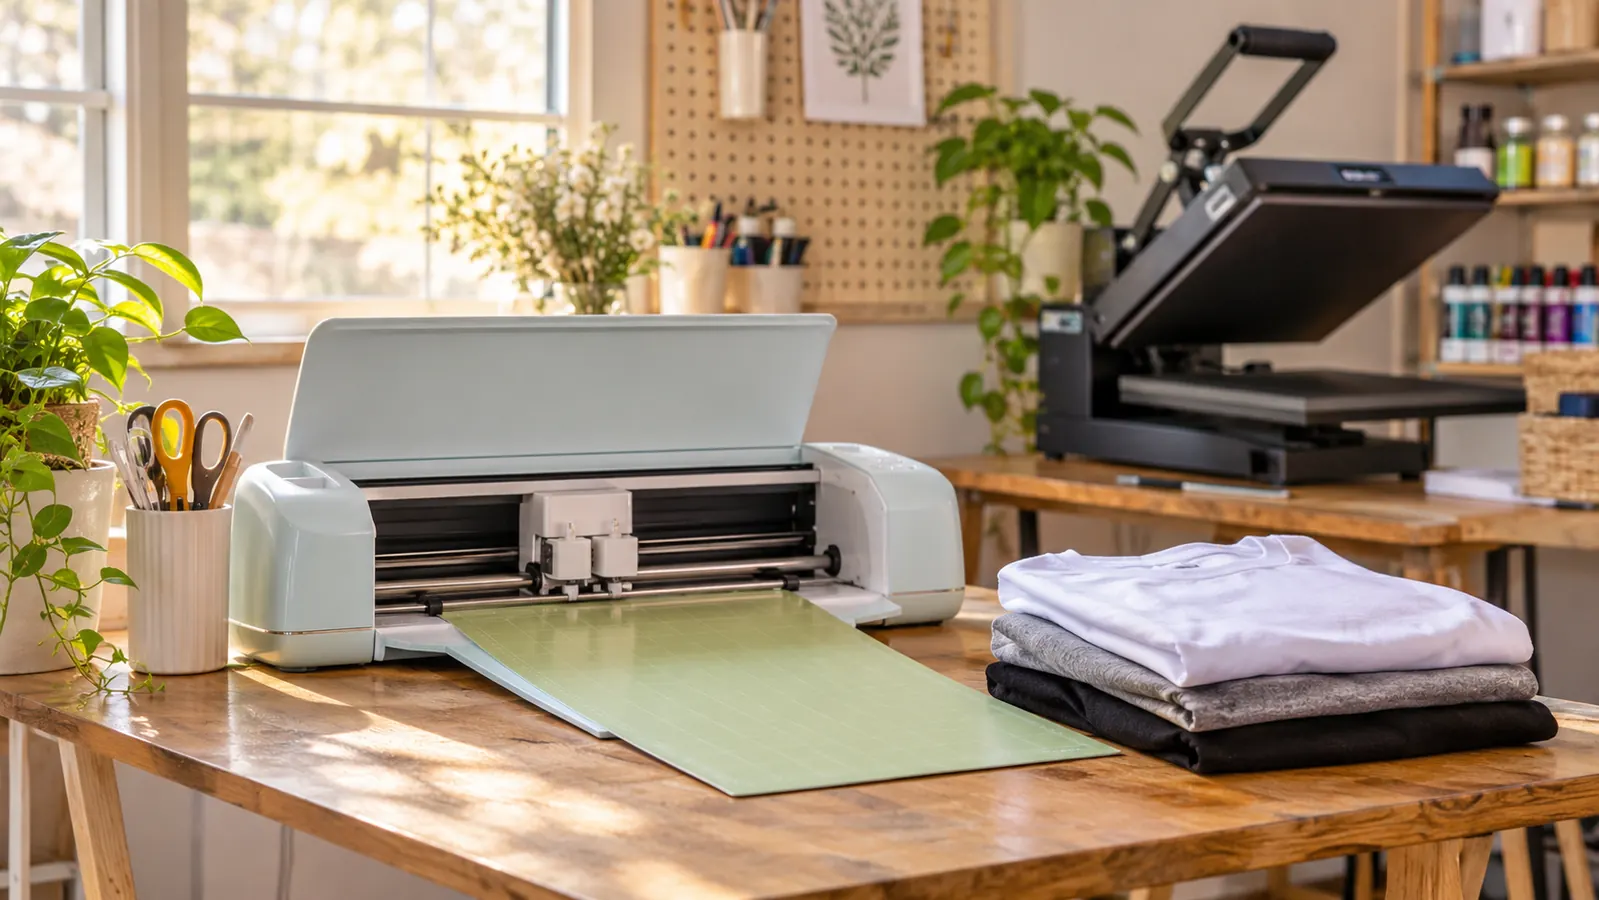
That is the part of this craft nobody explains when you start taking orders. Everyone talks about the press. But the cut is what decides whether a decal survives forty washes or peels on the second one. I run a Cricut Joy Xtra in the converted spare bedroom I call the press room, alongside my heat press, and it handles nearly every heat transfer job that comes through my door. Booster club spirit shirts, name decals for a youth soccer team, the small thank-you logos I press onto the back of teacher gifts. Four years in, this is the routine I actually use, mistakes included.
The cut is the part that decides whether the shirt comes back to you
A compact cutter that handles iron-on HTV, cardstock and sticker paper, with a fine-point blade and a mini weeder in the box. Small enough for a spare bedroom, precise enough for lettering under an inch tall.
Amazon Check Today's Price on Amazon →What the Cricut Joy Xtra Actually Gives You for HTV Work
The bundle arrives with the machine itself plus a fine-point blade, a fine-point pen, a mini weeder, a welcome card, a USB cable and a power adapter. There are also thirty bonus digital images included, which is handy when a booster club wants something cheerful and you have no artwork of your own yet. The fine-point blade is the one you will live in for heat transfer vinyl, because HTV needs a crisp, shallow cut, not a deep one.
The active cutting surface is 95.94 square inches, and the machine works with more than fifty materials including iron-on HTV, vinyl, cardstock and sticker paper. It pairs with a phone, a tablet or a computer, so I usually lay out a design at the kitchen table and then carry the machine to the press room, or the other way around on busy weeks. It weighs 250 grams, which means it does not need a permanent altar. Mine sits on the corner of the work table and moves to the shelf when I am pressing.
An honest word about size. That 95.94 square inch surface is comfortable for a front chest print, a sleeve logo, a pocket decal or a set of names. It is not a full back print in one pass. For a big design I split the artwork into two sections in my layout and align them on the shirt with a ruler measured down from the collar. It works, but if back prints are most of your business, plan around that instead of fighting it. The machine also carries a one-year manufacturer warranty, so register it and keep the receipt in a folder where you can find it.
Step 1: Build the Design at Final Size and Mirror It
Set the design to the exact width the shirt needs before you do anything else. The most common beginner mistake is designing at whatever size looks comfortable on a screen and then shrinking it at the end. Shrinking a design thins every line, fills in small text, and forces the blade to make decisions it should not have to make. If the finished lettering will be three quarters of an inch tall, check it at three quarters of an inch before it goes near the machine.
Then mirror it horizontally. Heat transfer vinyl is pressed face down onto the fabric, so the cut has to be flipped or your text reads backwards on the finished shirt. You will not notice until the vinyl is already on the shirt and the carrier is peeling away. I have done this twice, both times on a Friday night before a Saturday fair, and both times the fix involved cutting the whole thing again while the car was already loaded.
Leave a margin around the artwork, roughly half an inch on every side. That margin gives you something to hold onto during weeding and something to tape down if the sheet wants to shift. Crowd the design to the edge of the sheet and you will spend twenty minutes weeding a fourteen-millimetre border with a hook, which is nobody's idea of a good evening.
Step 2: Load the Vinyl Carrier Side Down
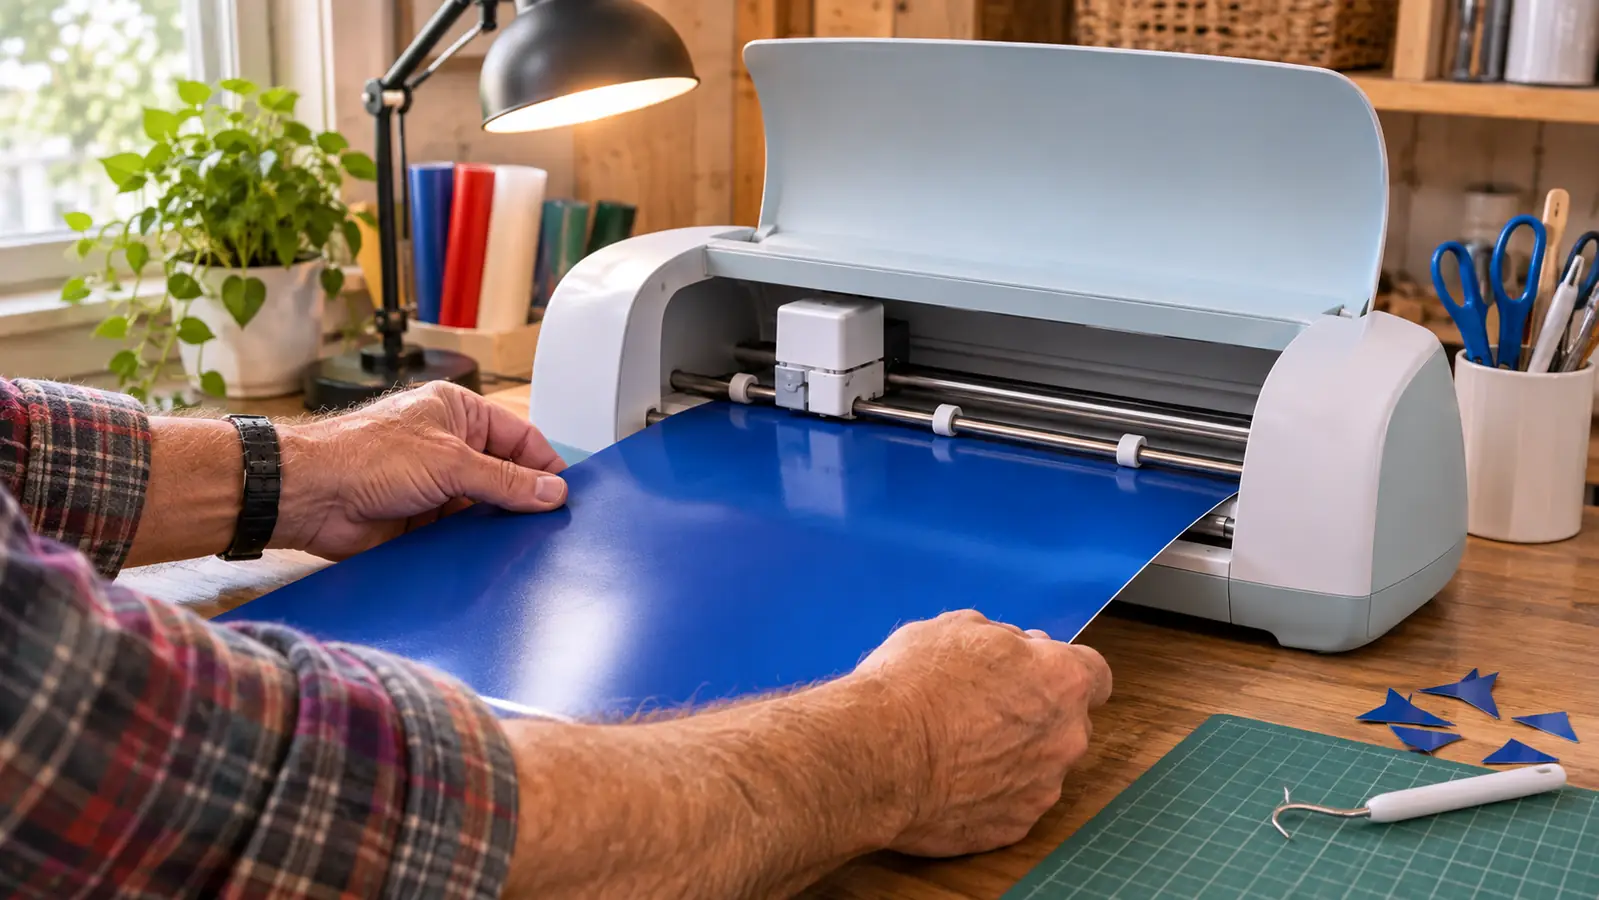
Heat transfer vinyl has two parts. A vinyl film, which becomes the design, and a clear carrier sheet stuck to the back of it, which holds everything together until you press. The blade has to cut the film only. If it cuts through the carrier as well, your letters fall apart into loose pieces and weeding turns into a small disaster. So load the sheet with the shiny carrier side down against the mat and the matte vinyl side up facing the blade.
Tape the sheet down at the corners if your material curls. HTV has a memory, and a roll that has been sitting in a cold room will lift at the edges the moment you let go. In my press room, which is really a spare bedroom with a space heater, I tape every sheet from about November through March and skip it in summer. Small habit, saves a lot of re-cuts.
Feed the sheet in until the machine takes it, then check that your design sits squarely over the material. If you are cutting a name for a pocket, this is the moment to notice that the sheet is rotated three degrees. Once it is in and the job has started, a crooked load becomes a crooked design, and crooked name decals are the kind of thing a coach notices from across a field.
Step 3: Choose the Iron-On Setting and Let It Cut
Tell the machine what it is cutting. With more than fifty supported materials, the setting you pick changes the pressure and the number of passes, and iron-on HTV needs a lighter touch than cardstock. Pick the iron-on setting for standard HTV, and use the custom option when you are working with a thick carrier or a heavy flock material. The machine runs the pass automatically once you start it, so keep your hands clear and let it finish.
Run a small test cut on a scrap before you commit a whole sheet. A two inch square is enough. Peel it. If the film lifts away cleanly and the carrier underneath is untouched, you are set. If the vinyl tears instead of separating, or the shapes drag and look fuzzy at the corners, the blade is dull or the cut is too shallow. Swap in a fresh fine-point blade and try again. Blades are cheap. Shirts are not.
Do not pull the sheet out early because the machine sounds finished. Let the carriage stop on its own and let the machine release the material. Pulling at the wrong moment drags the blade through a shape that was already cut and leaves a nick you will be staring at later through a magnifier.
A clean edge is not a cosmetic detail. It is the difference between a decal that holds through forty washes and one that starts lifting at the first one.
Step 4: Weed the Design Before You Touch the Press
The mini weeder that comes in the bundle is the right tool for this, and it is genuinely better than the paperclip I used for the first month. Work on a clean, light coloured surface so the small pieces show up. Peel away the background vinyl slowly and at a low angle, so it comes off in one sheet rather than in strips. Fast, jerky pulls are how the counters of an e or the dot of an i go missing.
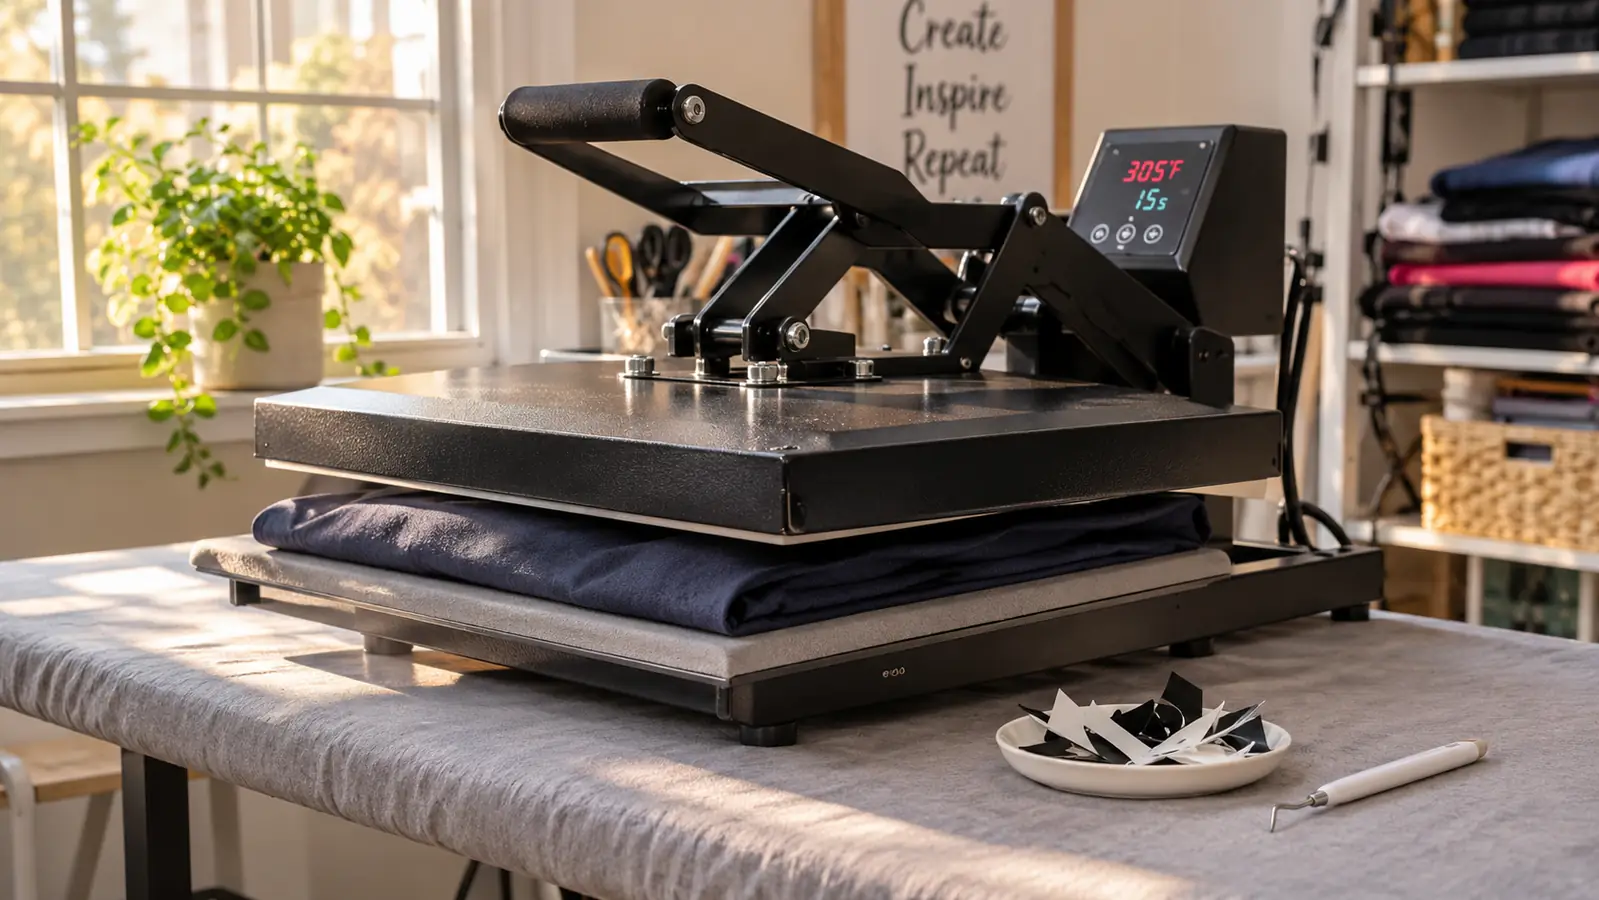
Inside letters are the fussy part. Press the hook into the piece you want gone, lift, and drop it straight into a scrap dish rather than onto the table. Once a stray vinyl piece lands on a shirt under the press, it melts and stays. I keep a shallow dish next to the machine and empty it into the bin at the end of every batch.
Then inspect the weeded design against a window or a lamp before it goes anywhere near fabric. Sunlight is unforgiving in the best way. Any piece you missed will be obvious in a way it never is under kitchen lighting, where I have missed a floating scrap more than once and found it pressed into a finished shirt.
Step 5: Press, Peel and Check the Edge
Preheat the blank for a few seconds before you place the design. That drives off moisture, which is the quiet reason a press can look perfect and still fail, because trapped damp under the vinyl turns to steam and lifts the edge from underneath. Give the shirt a quick pass, let it cool for a moment, then position your design using the collar or the centre seam as your reference point.
Press at the temperature and time on your vinyl's own instructions. For most standard HTV that lands somewhere around 305 degrees for 15 seconds at medium pressure, but the roll you bought outranks anything I say here, and thick or metallic films often want longer. Cover the design with a pressing sheet or a scrap of carrier so the top layer does not stick to your plate.
Peel according to your carrier's instructions, warm for most standard films, cold for some multis and metallics. Pull slowly and low, not straight up. Then look at the edge of every letter under good light. Lifting corners mean uneven pressure or a short press, and both are fixable if you repress immediately with a bit more pressure. They are not fixable after the shirt has been washed and handed to a customer.
What Else Helps
Batch by design, not by shirt size. Cutting all of the front chest logos while the machine is set up and the blade is sharp saves you from resetting the same job nine times, and it keeps your weeding rhythm going. I line up the blanks on the pressing table in size order and press them back to back, which also keeps the press at temperature instead of cycling up and down all afternoon.
Keep a sample press from every new roll. One shirt, one scrap of vinyl, one wash cycle through your own machine, and you will know exactly how that batch behaves before a customer finds out for you. It feels like a waste of a blank. It has saved me an entire reprint order twice.
Clean the blade path and change the blade on a schedule rather than on instinct. A dull blade does not announce itself. It just starts leaving fuzzy corners, and you spend an hour convinced that the vinyl is at fault. I change mine every couple of months during fair season and always before a large order. The fine-point pen that comes in the box is useful too, for marking alignment guides on the back of a blank, and the Print-Then-Cut feature with an inkjet printer opens up sticker sheets and printable labels for the booster club thank-you bags.
Finally, keep the machine somewhere you will actually use it. Mine lives on the corner of the work table with the power adapter plugged in and the USB cable tucked behind the lamp, so starting a cut takes about twenty seconds. A cutting machine that has to be unpacked from a closet is a cutting machine that stays in the closet. A 250 gram machine with a small footprint earns its place on the table.
If you are cutting for customers, get the edge right before you buy another sheet of vinyl
The Cricut Joy Xtra handles iron-on HTV, cardstock, vinyl and sticker paper, and it comes with the fine-point blade, the mini weeder and the power adapter you need for a first cut this week.
Amazon Check Today's Price on Amazon →