
Here is the moment I stopped blaming the press. I pulled a youth soccer jersey off the platen, peeled the sheet back, and the number on the back looked like it had been printed through a bedsheet. The edges were fuzzy. The line between the red and the black had widened into a pink smudge about a sixteenth of an inch across. I had already raised the temperature twice and added ten seconds, which is exactly what you do when you do not yet understand what is actually happening.
The problem was not heat. It was how much ink the sheet could hold and how much water was still in it when the press closed. Once I started treating the paper as part of the process instead of an afterthought, the edges came back. The sheet I keep stocked next to the press now is A-SUB Sublimation Paper, 8.5 by 11 inches, 110 sheets to a pack, 125 g. It is a coated sheet built to take a heavy ink load, which is the exact job a foggy transfer says you failed at.
Sharp edges start with the sheet, not with another ten seconds on the dial
A-SUB Sublimation Paper, 8.5 by 11 inches, 110 sheets, 125 g coated. Sized for standard shirt, tote and panel transfers, built to carry a full ink load. Sublimation ink only.
Amazon Check Today's Price on Amazon →Why the Sheet Does More Work Than You Think
Sublimation is a gas process. The ink sitting on the sheet turns to vapor under heat and pressure, travels into the fiber of the blank, cools, and locks in. The sheet has three jobs during that window: hold a precise amount of ink, release it evenly across the entire image at the same moment, and stay flat while it happens.
A thin, lightly coated sheet releases unevenly. The middle of the design gasses off before the border does, so the center looks acceptable and the edges look like a photocopy of a photocopy. A heavier coated sheet like the 125 g A-SUB holds the load and lets go across the full surface at once. That is how the same printer, the same ink and the same press can produce a crisp print on one sheet and a soft one on another. Nothing else in the chain changed.
Below is the order I do things in now, four years and a lot of wasted blanks later. None of it is difficult. All of it has to happen.
Step 1: Settle the Press Before the Paper Leaves the Printer
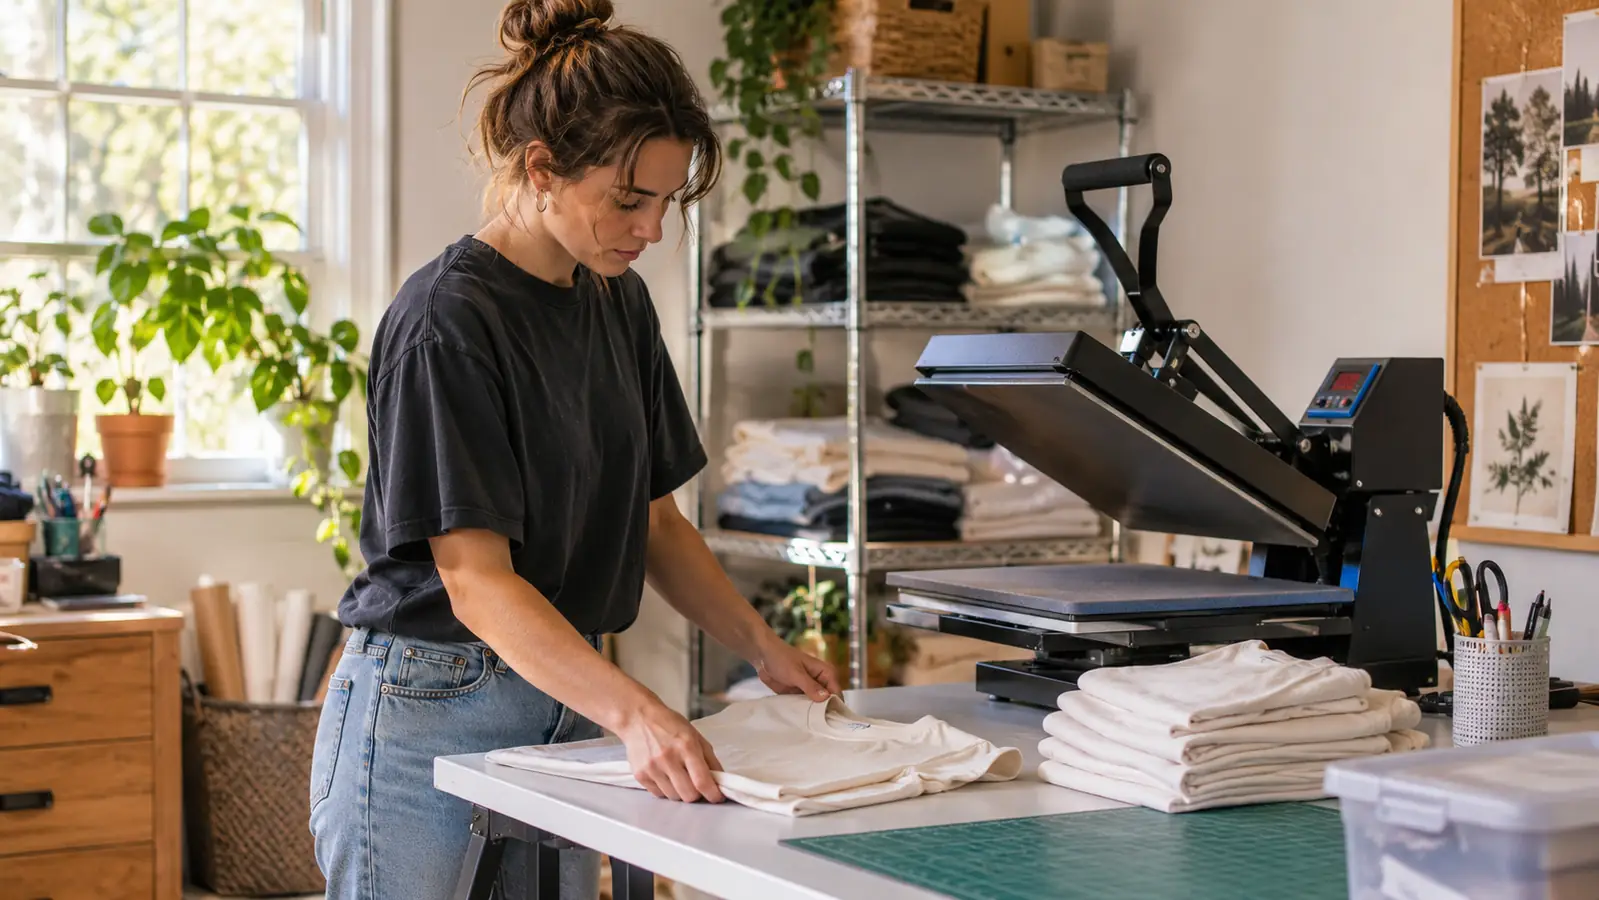
I run 385 to 400 degrees Fahrenheit for polyester, 50 to 60 seconds of press time, and medium firm pressure. Those numbers are a starting point, not a law, but they need to be settled before you print anything. If you are still adjusting temperature while a printed sheet sits on the bench, that sheet is pulling moisture out of the air and quietly losing the edge you paid for. I learned that on an order of forty booster club tees with a two-color crest across the chest, in the fall of my second year. The display said 400. An infrared thermometer pointed at the platen said 378, and it read 372 on the left side. My press had been running cold for months and I had been covering for it with extra seconds, which cooks the outside of a design while the middle never fully gasses off. Now I check the platen every Sunday before a production week and write the reading on the whiteboard by the door.
Preheat the blank for five seconds with the press closed and nothing in it. That drives off the moisture living in the fabric, the moisture that turns into steam the second you close a hot platen on it. Steam is the quiet killer of detail. It sits between the ink and the fiber and blurs the transfer while it is still turning to gas. On a heavy cotton blend I will sometimes preheat twice, five seconds, lift, five seconds again, because the first pass mostly fogs the surface and the second one actually dries it.
Lint roll the surface after preheating. One stray fiber under the sheet becomes a pale speck in the middle of a team logo, and you will not see it until the paper is already off.
Step 2: Print on the Coated Side With a Full Ink Load
An A-SUB sheet has a coated print side and a plainer back. Load the printer so the coated face is the one taking ink. If you are unsure, run one test page and look at both surfaces. One will look wet and faintly glossy. The other looks dry and dull.
Set the printer to the highest quality photo setting it offers and turn on mirror image. Sublimation reads backwards on the sheet and forwards on the shirt, so an unmirrored design comes out reversed, and you find that out after the press. Then leave the print alone for a few minutes. Ink that has settled behaves differently from ink that is still wet, and settling takes less time than you expect.
Everyday ink will not work here at all. The A-SUB sheet is made for sublimation ink, and the whole mechanism depends on that ink turning to gas at press temperature. Load a normal cartridge and you get a faint stain and a wasted blank.
Step 3: Deal With the Curl Before It Reaches the Fabric
A 125 g sheet curls at the corners the moment it comes off the printer. That curl is not cosmetic. A lifted corner means the sheet is not sitting flat against the fabric, so the ink has to cross a pocket of air to get there, and it lands soft and slightly out of register with the rest of the design.
I lay the sheet face up and roll the curl out gently with the back of my hand, then set a clean book on it while the press comes back up to temperature. For anything with fine text or a thin outline, I tape the corners down with heat tape. Two small pieces, pressed flat, pulled off after the peel. Fifteen seconds, and it saves the shirt.
The curl gets worse in winter and it gets worse with large solid areas of ink. I did a run of twenty zippered pouches for a youth team in January, each with a full-width bar of color across the front, and the sheets came off the printer wanting to roll into a tube. Weighting them under a book flattened the middle and left the corners lifted, which is the worst possible combination because you tape one and the other pops. What fixed it was taping the leading edge first, then the two trailing corners, then laying the whole thing down with the press already closed on nothing so the platen was warm but not touching. Four pieces of heat tape instead of two. Slower on each piece, faster on the order, because I stopped reprinting.
Step 4: Build a Clean Stack and Press With Intention
Order matters. Bottom platen, then a sheet of butcher paper, then the blank, then the print face down, then a second sheet of butcher paper on top. The top sheet catches the blowout, which is the excess ink that gasses off around your design and will ghost onto the next blank if you let it.
Close the press and let it finish. Do not open it halfway to check. Every time you lift the handle you lose pressure and heat, and what you get is an average of the two states, which is another way of saying it looks soft. I did this to a canvas tote in my first year, lifted the handle at twenty seconds to see how a monogram was coming along, and the pale rectangle where the platen had been is still visible on the bag I now use to carry tape and scissors to fairs. Medium firm pressure means the press closes and you feel resistance in the handle, not that you lean on it with your shoulder. If the fabric shows a hard shiny line along the edge of the platen, that is too much pressure, and the shine does not wash out.
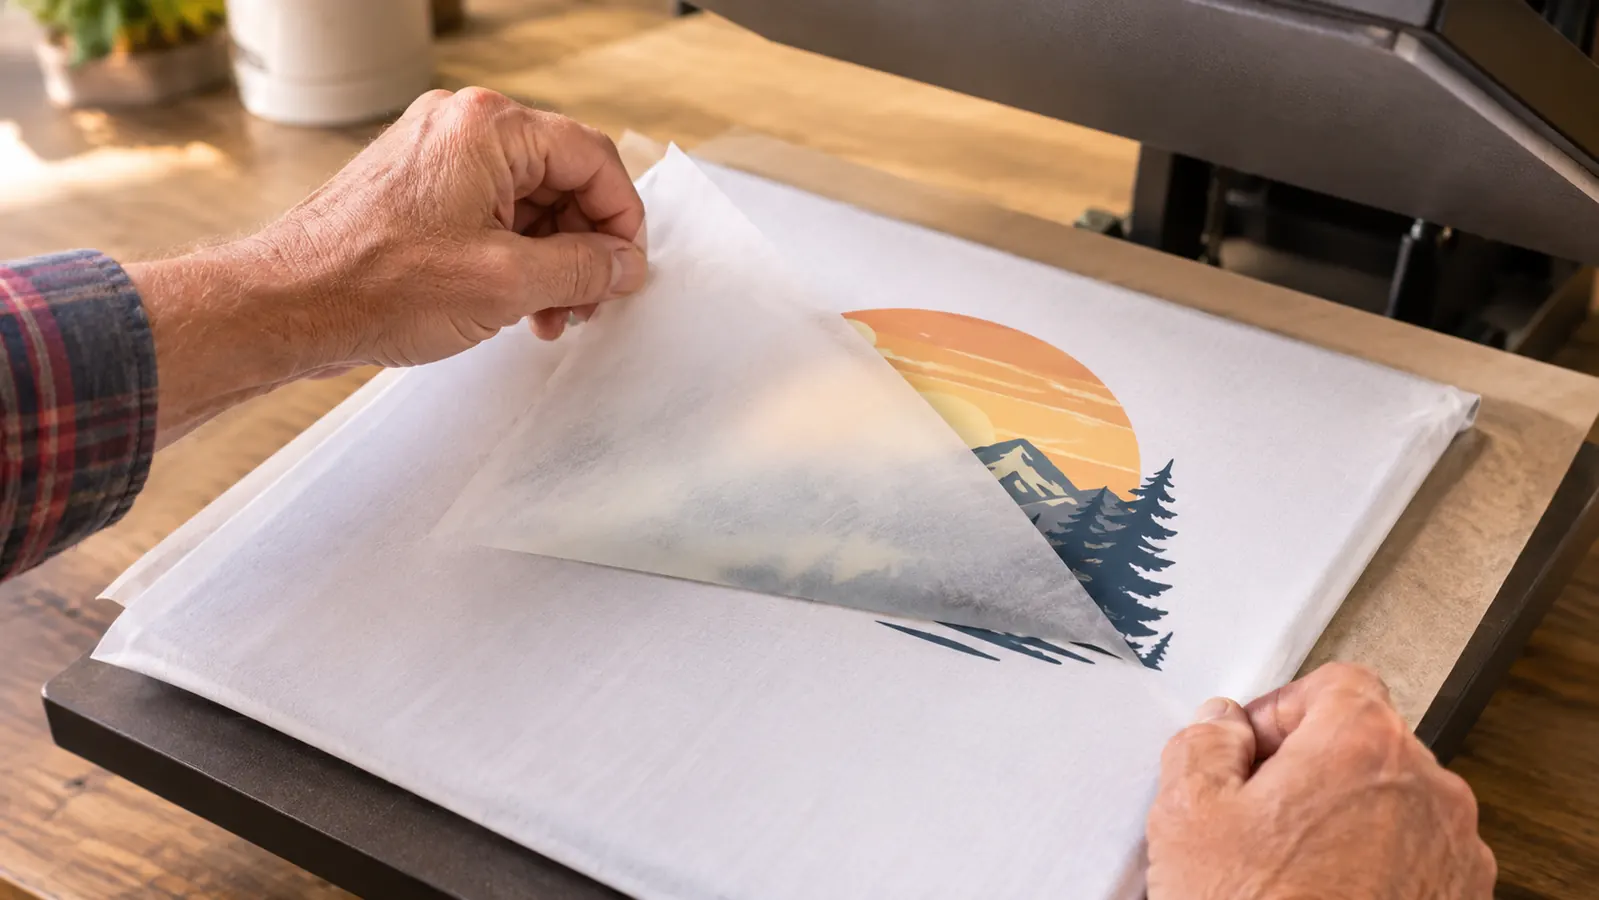
Peel hot for polyester. Peel cold for mugs, ceramic and anything rigid, because those surfaces stay hot enough to smear the ink if you rush. If the sheet fights you at a corner, wait a few more seconds. Ripping a hot sheet off a tumbler leaves a jagged edge that never comes out. The first stainless tumbler I did, I peeled at about four seconds because I was impatient, and the bottom third of the design came away with a torn, ragged border I had to explain to a customer. Now the tumbler sits on the counter until the metal is cool enough to hold comfortably, which is roughly six or seven minutes in my kitchen.
Step 5: Match the Blank to the Sheet Instead of Hoping
The A-SUB sheet transfers cleanly onto white or light colored high polyester fabric, material with a cotton content of 30 percent or less, and onto coated ceramic, tile, phone cases and metal. That last part surprises people. The same sheet that makes a soft print on a 50/50 cotton blend will produce a vivid, sharp image on a coated mug or an aluminum panel, because that surface is built to receive it.
When a shirt comes out dull, the fabric is the first thing I check. A high cotton tee takes the ink and holds it weakly, and extra press time does not fix weak, it just makes the shirt shiny. I keep a notebook of blanks that work, with the fiber content written on the page, because the tag tells you more than the shelf label does.
The cotton rule catches people because a 50/50 blend feels like a polyester shirt on the hanger. I bought a dozen light gray blend tees for a family set two years ago, printed them on the settings that work on my usual blanks, and got a soft, washed storybook look on every single one. Not ruined. Just not sharp. The ink went in and stopped. Now I cut a scrap about four inches square from each new blank and press a small test patch before I commit a whole order. The scrap goes in the notebook with the fiber content written beside it, and I have not been surprised by a blank since.
What Else Helps
Store the pack flat and dry. Left open on the bench through a Vancouver winter, a pack will pull humidity out of the air in about a week and start printing soft. Mine lives in a plastic bin with a lid, and I only pull out what I plan to print that day.
Change your butcher paper more often than feels reasonable. It looks fine and it is not fine. Blowout builds up on the underside and comes back onto the next shirt, which is where mystery gray smudges come from.
Print a calibration page whenever you change ink, change a blank supplier, or the printer has sat idle for a week. A row of small text at four different sizes tells you more about your setup than a full design does. If the smallest line is legible on the shirt, everything above it will be too. Mine is a single page in a folder by the printer, and I run it before every production week even when nothing has changed, because something always has.
The sheet was never the weak link. My order of operations was. Once the press, the ink load and the blank lined up, the same 125 g sheet started turning out edges I could not get from anything heavier.
What This Means for a Real Order
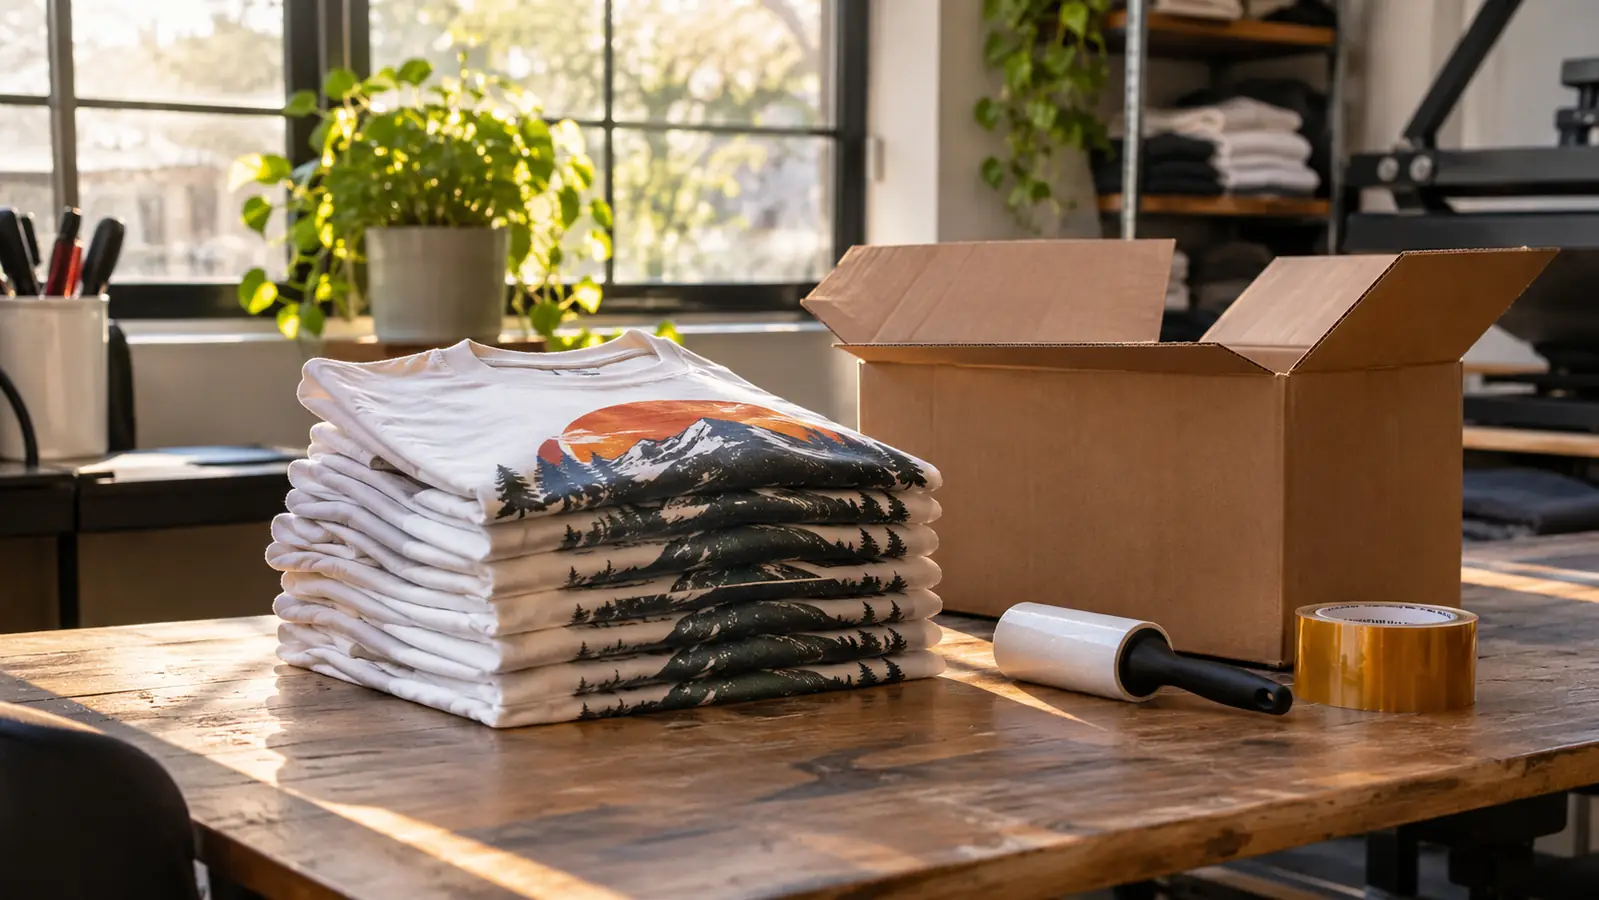
A soft print is not just an ugly print. It is a reprint, and a reprint during the week a booster club order is due is the difference between a calm Thursday and a long one. This checklist is what lets me quote a delivery date and mean it, and it is why I stopped buying whatever pack was closest to the register.
One pack, one checklist, and edges that hold up under a customer's thumb
A-SUB Sublimation Paper, 8.5 by 11 inches, 110 sheets, 125 g coated. Sized for standard transfers, built for a full ink load, and best paired with a settled press and a polyester blank.
Amazon Check Today's Price on Amazon →