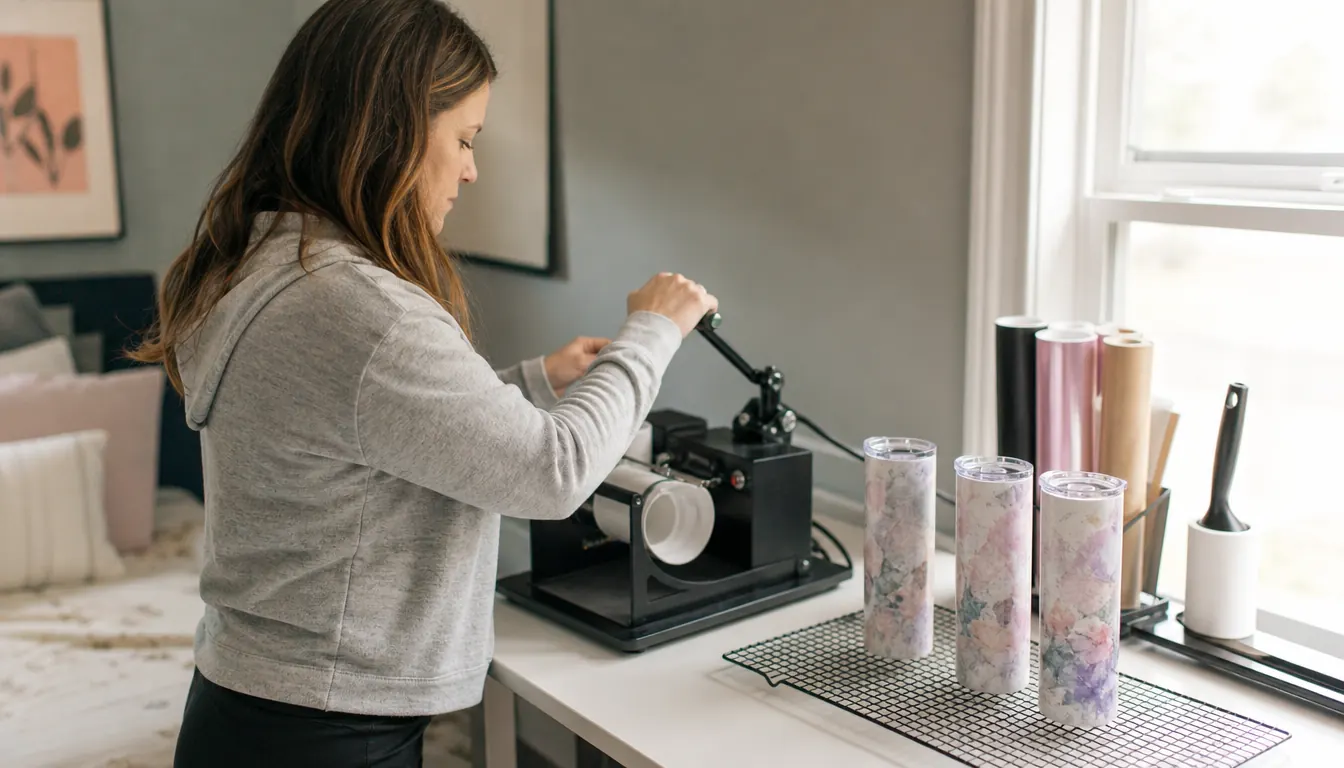
Four years ago I made my first sublimation tumbler in the spare bedroom I now call the press room. It came out with a pale ghost of the design and a hard seam where the wrap shifted halfway through. I blamed the paper. It was not the paper. It was me, taping a flat print around a curved blank and hoping it held for the whole press.
If you have made a few tumblers already, you know that feeling. You peel the paper back and hold your breath. The HTVRONT Auto Tumbler Heat Press takes most of that hoping out of the process. It holds the blank, it applies even pressure around the curve, and it does the part my hands were never good at. What it does not do is pick the right blank, line up your print, or tell you when a customer's logo is going to sit too close to the seam. That is still on you, and that is what this guide covers.
Stop taping prints to tumblers and hoping
The HTVRONT tumbler press holds blanks from 2.9 to 3.2 inches in diameter, 10 to 30 oz, and applies even pressure around the whole curve. The wrap-slipping era ends the day it arrives.
Amazon Check Today's Price on Amazon →Step 1: Pick a Sublimation Blank, Not a Regular Tumbler
This is the step that ruins the most blanks, and the one nobody warns people about. A tumbler has to have a poly coating made for sublimation. The powder-coated stainless tumbler you picked up at a big box store, the one with the nice matte finish, will not take dye sublimation ink. The ink turns to gas, the gas needs a polymer surface to bind to, and if that surface is the wrong coating, the gas just floats away. You end up with a faint print that fades in a week and a customer who thinks you sold them something cheap.
I buy blanks labeled as sublimation blanks, and I test one out of every new batch before I commit a customer order to it. The print itself gets printed in mirror image, because the paper goes face down on the blank. Every printer and every design program handles that differently, so I do a small test print first and hold it up to a mirror to check the lettering before I send a full sheet.
I had a case of two dozen blanks come in with a coating the supplier described as sublimation ready. I printed a small square on one and pressed it before I touched the other twenty three. The square came out about half strength and grayish, and it did not sharpen up with more time in the press. That is the tell. A blank that is merely under-pressed improves with more heat. A blank with the wrong coating never does. I sent the case back, and I have tested the first blank out of every case since.
One more thing people skip: run a lint roller over the blank and over the printed sheet before they meet. A single fleck of dust trapped under the paper becomes a white dot in the finished design, and you will not see it until after the press. I keep the roller on the shelf next to the press and use it every single time, even when the blank looks clean.
Step 2: Set Your Temperature and Let the Press Come Up
The HTVRONT press runs between 210°F and 390°F, and where you land in that range depends on the blank. For the poly-coated stainless tumblers I use most, I set it to 356°F and give it a few minutes to come up to temperature before the first blank goes in. Do not rush the warm-up. A press that has not settled gives you a print that looks fine on one side and washed out on the other, and you will spend an hour trying to work out what you did differently on a tumbler you did exactly the same way.
The warm-up is where I lost a whole morning once. I had a booster club order to finish and I started pressing the moment the display stopped climbing, which I took to mean the machine was ready. The first four tumblers came out pale across the lower half. I shut the press off, let it sit, brought it back up, and pressed a scrap blank, which came out perfect. The display had reached the number before the pad had. Now I give it a few extra minutes and run a scrap through before anything else goes in.
I keep a cheap kitchen timer on the shelf beside the press, because I do not trust myself to watch a clock while I am trimming paper. Every time I try a new blank, I write the temperature and the time on a sticky note and put it on the wall behind the machine. It took me a year to start doing that and it is the single habit that made my scrap rate drop.
Start with a scrap blank, not the customer's. Blanks vary by brand, by coating, and by how thick the wall is. The number that worked for one supplier's 20 oz tumbler is not automatically the number for the next supplier's 20 oz tumbler, and one wasted scrap blank stings far less than a wasted customer blank.
Step 3: Wrap the Print and Load the Tumbler
The press accommodates tumblers 2.9 inches to 3.2 inches in diameter, ranging from 280ml to 850ml, which is 10 to 30 oz. Measure the blank before you buy fifty of them. Anything outside that range will not seat properly, and you will be fighting the machine instead of using it.
Measure with something better than a ruler held up to the light. A cheap caliper lives in my drawer and it has saved me twice now. One case of blanks arrived at 3.4 inches across, which sits outside the press's stated range, and I found that out at my kitchen table instead of with a customer's paper already taped on and half a design wasted.
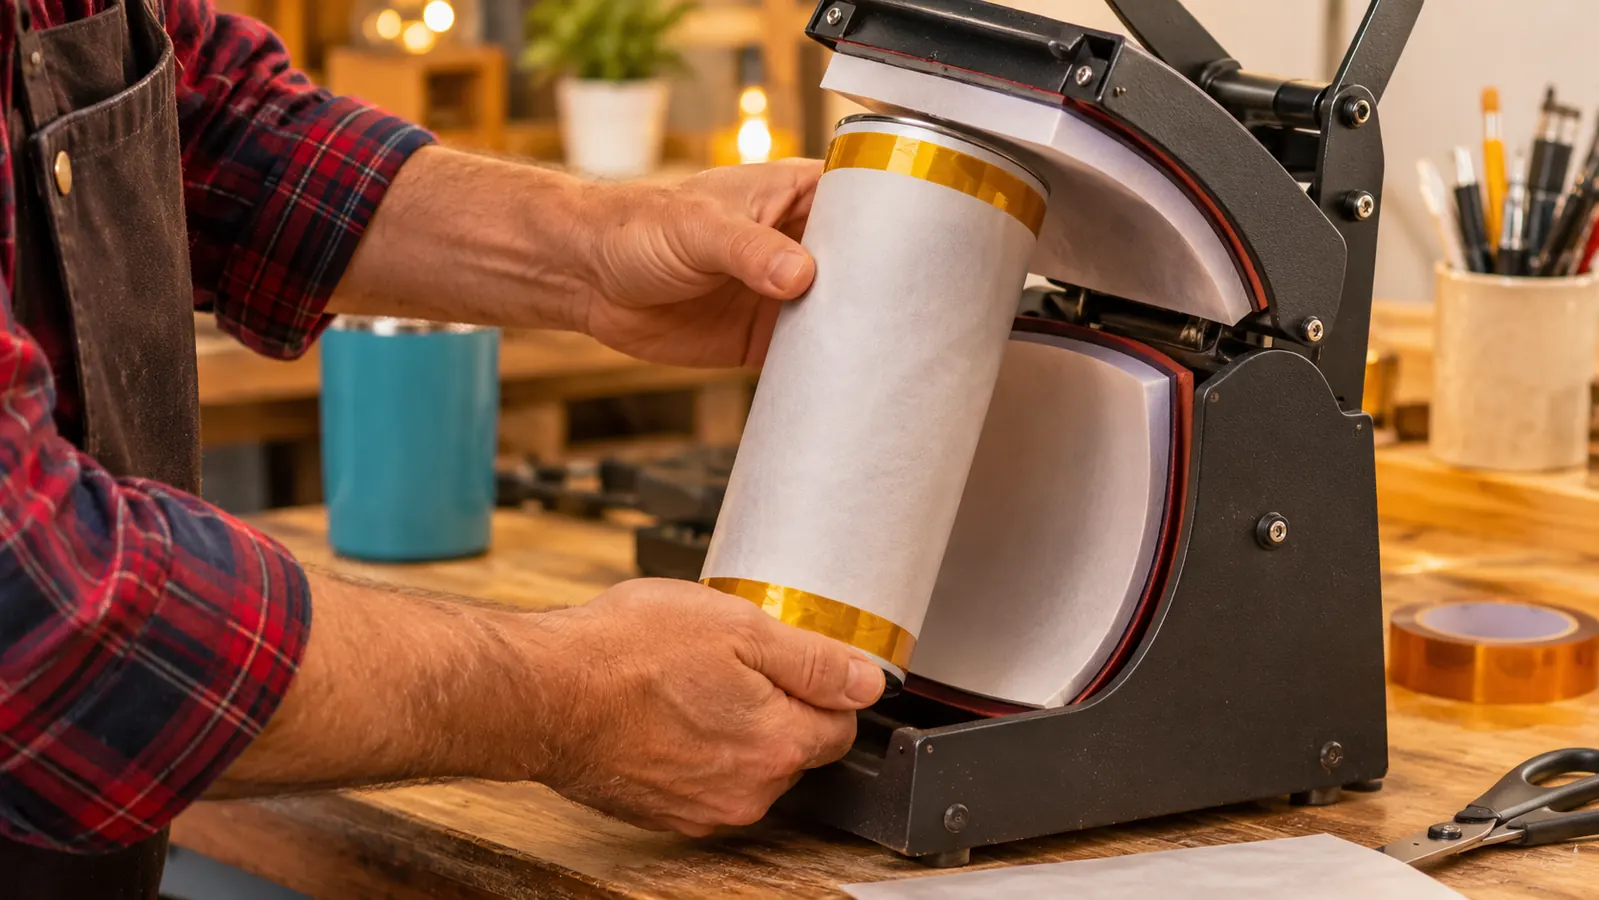
Center the design on the printable area, keep the seam at the back, and tape the top and bottom edges down with heat tape. Not Scotch tape. Scotch tape melts onto the blank and you will be picking it off with your fingernail. Trim away any paper that would overlap onto itself, because a double thickness of paper creates a dark line in the finished print that no amount of pressing will fix.
Once the wrap is taped, set the tumbler into the press so the pad meets the whole printed surface. This is the part my hands could never do evenly. Because the blank is held rather than squeezed by me, the pressure is the same at the top of the design as it is at the bottom, and that is why the edges come out sharp instead of fading.

Step 4: Close It, Click It, and Leave It Alone
Load the wrapped tumbler, close the press, and click it shut. The HTVRONT does the pressing from there, which is the whole reason I bought it. The old way was standing at the table squeezing a silicone wrap against a hot blank and trying to keep even pressure for the full press, with my shoulder burning by the tenth tumbler. For a booster club order of thirty, that difference is not convenience, it is whether the order gets finished on a Saturday or spread across three evenings.
The one control worth learning on day one is the R button. Press it and the machine halts heating and releases the heat pad instantly. That matters more than it sounds. If you load a tumbler crooked, or you realize mid-press that the seam is facing the front, you do not have to wrestle the press open while it keeps cooking your blank. Press R, pull the blank, fix the wrap, and start again.
Then walk away from it. Not across the house, but do not stand there cracking the press open to check progress. Every time you open it you lose heat, and a lost pocket of heat shows up later as a faint band where the pressure changed. Let the press finish the press.
Step 5: Unload, Peel, and Let It Cool Before You Touch It
Take the tumbler out, set it on a heat mat, and peel the paper while it is still hot. For the tumbler wraps I use, a hot peel gives the crispest edge. Pull it off in one steady motion rather than in pieces, because stopping halfway leaves a mark right where you paused.
Then leave it alone. Fully cool means an hour, not five minutes. The print continues to settle as the blank comes down in temperature, and if you start rubbing at an edge or washing it while it is still warm, you can lift a corner that would have been perfectly fine. I ruined two tumblers learning that, both of them for the same customer.
I also stacked two dozen finished tumblers on top of each other once, still warm, in a hurry to load the car for a Saturday fair. The ones at the bottom of the stack came out with faint rings pressed into the print where the base of the tumbler above had rested. Nobody at the fair noticed, but I did, and now the cooling rack comes out before the first blank goes in.
Finished sublimation drinkware gets hand washed. No dishwasher, no soaking overnight, no scouring pad. Tell your customers that in writing, on the care card that goes in the box, because the fastest way to get a message about a faded tumbler is to let someone assume it is dishwasher safe.
What Goes Wrong, and What I Do About It
Faded print on one side only. Almost always uneven seating, not a bad blank. Pull the tumbler, check that the wrap is centered and the pad is meeting the whole surface, and press it again with a fresh print on a scrap before you touch another customer blank.
A ghost image around the edges of the design. That is the wrap moving under the pad. More heat tape, less paper overlap, and slow down when you load it. I still get one of these every few months when I am hurrying before a fair.
A print that looks washed out across the whole surface. Usually the press had not come back up to temperature after the previous blank. Give it the few minutes. I know it feels like wasted time when you have twenty to get through, but a redo stings more than the wait.
My first thirty-tumbler booster club order took a full Saturday. The second one took a morning, and the difference was not speed. It was that I stopped guessing at the temperature.
What Else Helps
The press is one part of a working setup, and the rest of it is small and cheap. A dedicated pair of heat gloves so you stop burning your fingertips on hot blanks. A heat mat so the press does not leave a mark on the worktable. A notebook on the wall with the settings that actually worked for each blank you buy. None of that costs much, and together it cuts down on the little failures that make a batch feel like a chore.
Space matters more than I expected. The HTVRONT weighs 4.92 kg and measures 12.9 by 10.9 by 6.3 inches, so it takes a small footprint, but you need clear bench on both sides for loading and cooling. It draws 600 watts on 120 volts, which has been fine on the ordinary circuit in my press room alongside my other equipment, and it carries a one year warranty. Mine has run through booster club orders and weekend fairs without a wobble, and the ABS shell wipes clean when I get transfer paper dust on it. Set it up at a height where your hands are comfortable loading, because you will load it hundreds of times.
And give yourself permission to be slow at first. My first few tumblers were not good. The ones I sell now are, and the only thing that changed between them was repetition and a wall full of sticky notes. The craft is the part you earn. The HTVRONT handles the part that used to break my heart.
Make the twenty-ninth tumbler come out as even as the first
600 watts, blanks from 2.9 to 3.2 inches in diameter, 10 to 30 oz, and an R button that releases the heat pad the instant you need it to. One year warranty.
Amazon Check Today's Price on Amazon →