
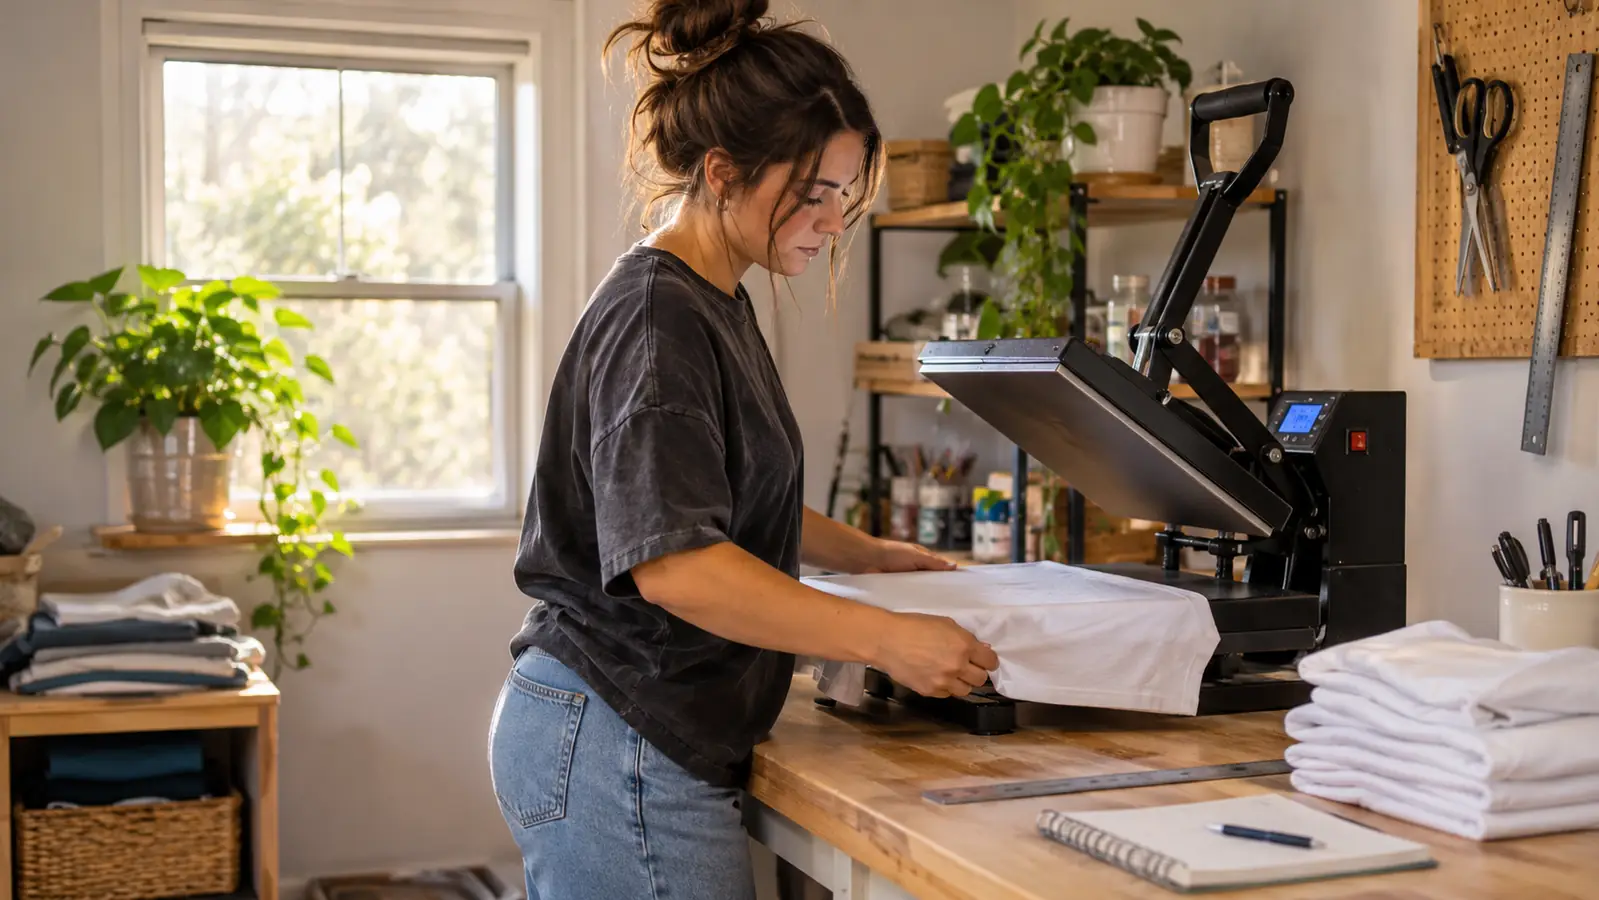
Twelve youth soccer jerseys. That is how many shirts I ruined in one season before I admitted that my manual clamshell press and I were not getting along. I would count the seconds in my head, lean my whole body weight onto the handle, and still lift the top platen to find that one corner of the vinyl had bonded and the other corner had come up attached to the carrier sheet. The jerseys were already paid for. The parents had already approved the proof. I remade all twelve out of my own materials on a Tuesday night and decided the counting had to stop.
That is when I bought the HTVRONT Auto Heat Press, the 15x15 model with auto release. I have run it in my press room for well over a year now, through school booster club orders, weekend craft fairs, and a stack of matching shirts for a family reunion. This is not a review. It is the actual sequence I follow every time I press a shirt on it, including the two steps I got wrong for my entire first month. If you already own the HTVRONT press and you are fighting with it, the fix is almost certainly in Step 2 or Step 4.
The Press That Counts the Seconds So I Do Not Have To
The HTVRONT Auto Heat Press runs a 15 by 15 inch platen, brings the top down, holds the time you set, and lifts on its own at the end. That last part is the reason I stopped remaking shirts.
Amazon Check Today's Price on Amazon →The Five Steps I Run Every Single Time
Step 1: Set Up the Press and the Table Under It
The machine weighs 40.3 pounds and measures 20 inches long, 12 inches wide, and 16 inches high, so it is not something you tuck into a closet and pull out for each order. Mine lives in the spare bedroom I turned into the press room, on a bench that does not wobble. Spend your money on the bench before you spend it on anything else. A folding table that shifts a quarter inch when the platen drops will give you a crooked design no matter how carefully you measured, and you will blame the machine for it.
It runs on 120 volts, so an ordinary wall outlet is all you need, but give it its own outlet. In my first winter I had mine sharing a circuit with the vinyl cutter and a space heater, and the press would stall mid cycle every time the heater kicked on. Nothing was wrong with the press. It just wanted the power to itself.
Leave room above it. The top platen lifts on its own when the cycle ends, and if there is a shelf of blanks sitting directly over it you will hear about it, usually at the worst possible moment. I keep a clear 18 inches of space above the machine and nothing on the bench in front of it except the shirt I am working on.
Step 2: Choose a Mode and Come Fully to Temperature
The machine has four fast modes, two custom modes, and an auto mode. The fast modes cover the materials I press most often, and the custom modes are where I save the odd settings so I do not have to look them up again. Whichever you pick, the job starts the same way. Turn it on, set the temperature, and walk away until it has actually reached it.
It heats to 320°F, which is 160°C, in about four minutes. Four minutes is also just long enough to weed a small design, which is why I switch the press on before I sit down with the vinyl instead of after. The machine runs between 160°C and 210°C, and most of my heat transfer vinyl work lives near the bottom of that range.
Here was my first-month mistake. I would set the temperature and start pressing the moment the number stopped flashing, which is not the same thing as the platen being hot all the way across. Give it a couple of extra minutes, especially for a full front print where the entire 15 by 15 inch surface is doing work. I also keep a notebook with one page per material, because the settings that suit one brand of vinyl are not the settings for the next one. Write down the temperature, the time, and whether you peeled hot or cold. You will not remember, and the shirt you cannot reproduce is a shirt you cannot sell twice.
Step 3: Weed the Design and Place It, Then Check It Twice
Weeding is the quiet part of the job, and it is where most of my crooked shirts were actually born. I weed at a table by the window in the afternoon with a good light pulled close to the vinyl, because a missed dot inside a small letter is invisible under a kitchen light and unmistakable on a shirt front under a gym ceiling.
Placement is where the ruler earns its keep. I measure down from the collar rather than up from the hem, because hems vary between brands and collars do not. On a 15 by 15 inch platen you can fit one adult full front comfortably, or one adult back print, or two youth smalls side by side if you are careful. You cannot fit an adult 3XL front and back in a single pass, and you should not try to save time by pressing a sleeve at the same time as the body.
Then I check it twice. Once standing straight over the shirt, and once from the side. Every crooked shirt I have ever made looked perfectly fine from the first angle.
I stopped losing shirts to a number I miscounted in my head. The machine holds the time and lifts on its own.
Step 4: Press, Let the Auto Release Work, Then Peel
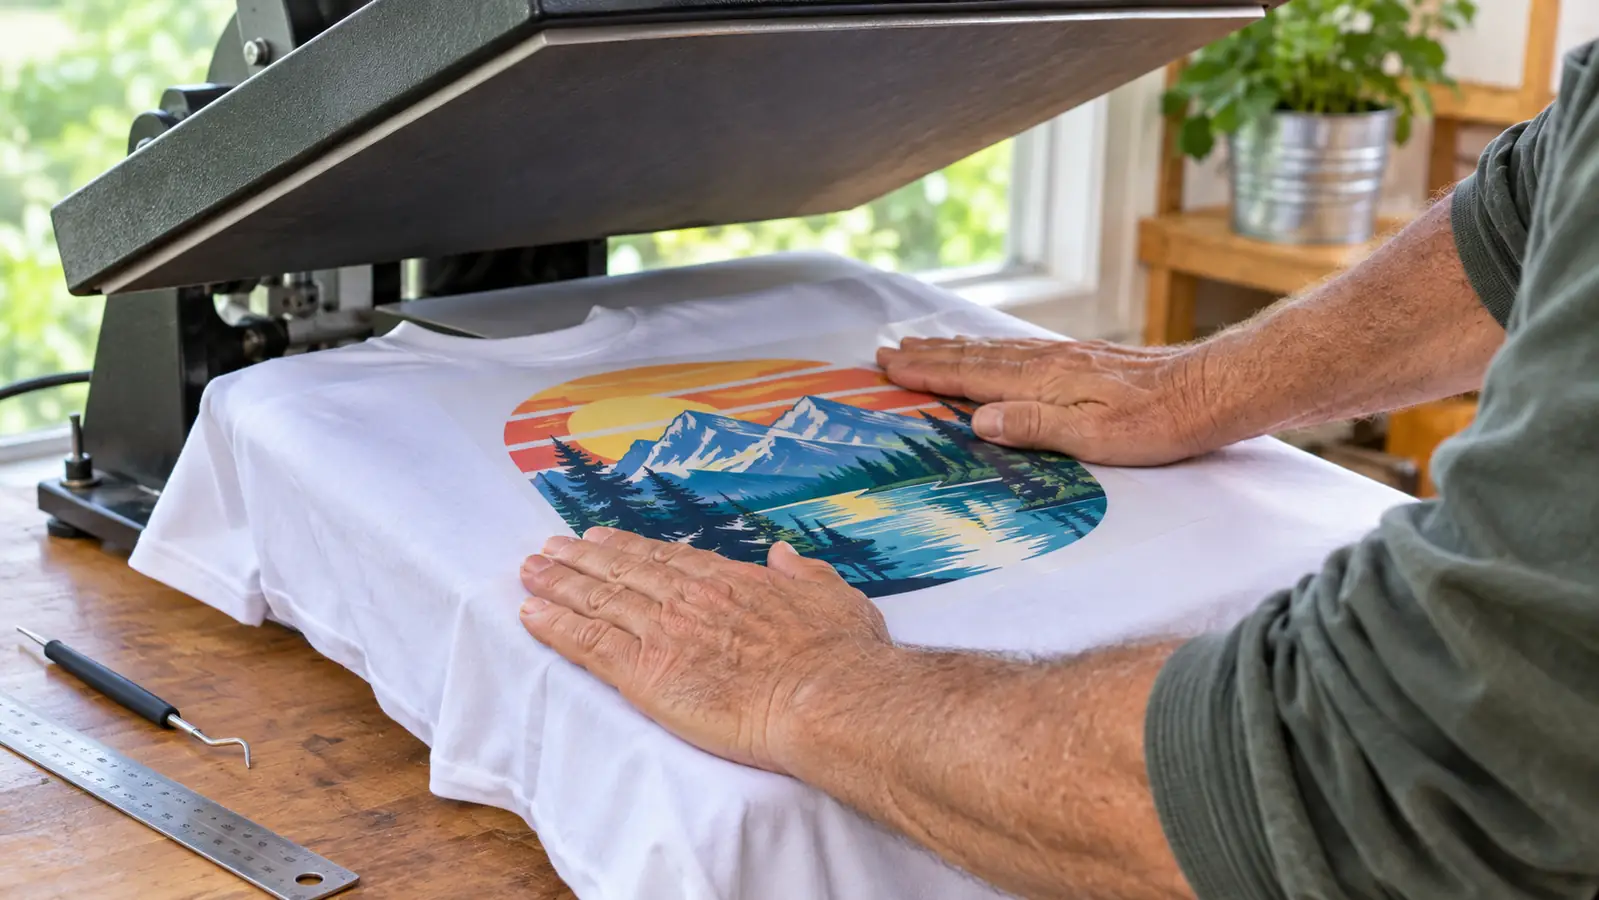
Load the shirt so the design sits flat under the platen with no fold or wrinkle anywhere inside the press area. A wrinkle in the shirt becomes a wrinkle in the vinyl, and a wrinkle in the vinyl becomes a shirt a customer brings back to you at the next fair. Smooth it with both hands before the platen comes down, every time, even on the twentieth shirt of the evening.
Start the cycle and take your hands away. This is the part that took me a while to trust. The machine brings the platen down, holds it for the time you set, and lifts on its own when the cycle finishes. There is no handle to lean on and no count to keep in your head. For my first month of ownership I stood with both hands hovering over it the whole time, which rather defeats the point of buying it. Now I use those seconds to weed the next design.
Peel according to the vinyl, not according to your patience. Some carriers want to come off warm and some want the shirt to cool completely before you touch them. If a corner fights you, stop pulling and let it sit a little longer. Pulling a warm carrier that wanted to be cold stretches the design out of shape, and once it is stretched there is no fixing it. Before I sell a design I have not run before, I press one shirt for myself and wash it twice.
Step 5: Batch the Order Without Losing Your Place
For a booster club order of two dozen shirts, I do not press one shirt all the way through and then start the next. I stack the blanks in size order, weed every design first, and then run the press in one long series. The machine does not mind how many shirts go through it, and the rhythm of load, close, peel, fold is far faster than switching tasks between every single shirt.
I keep a printed sheet on the corner of the bench with the sizes and the count, and I cross off one line as each shirt comes out of the press. The first order I ever filled, I delivered twenty three shirts to a team that had paid for twenty four, and I did not find out until a parent asked me about it on the sideline.
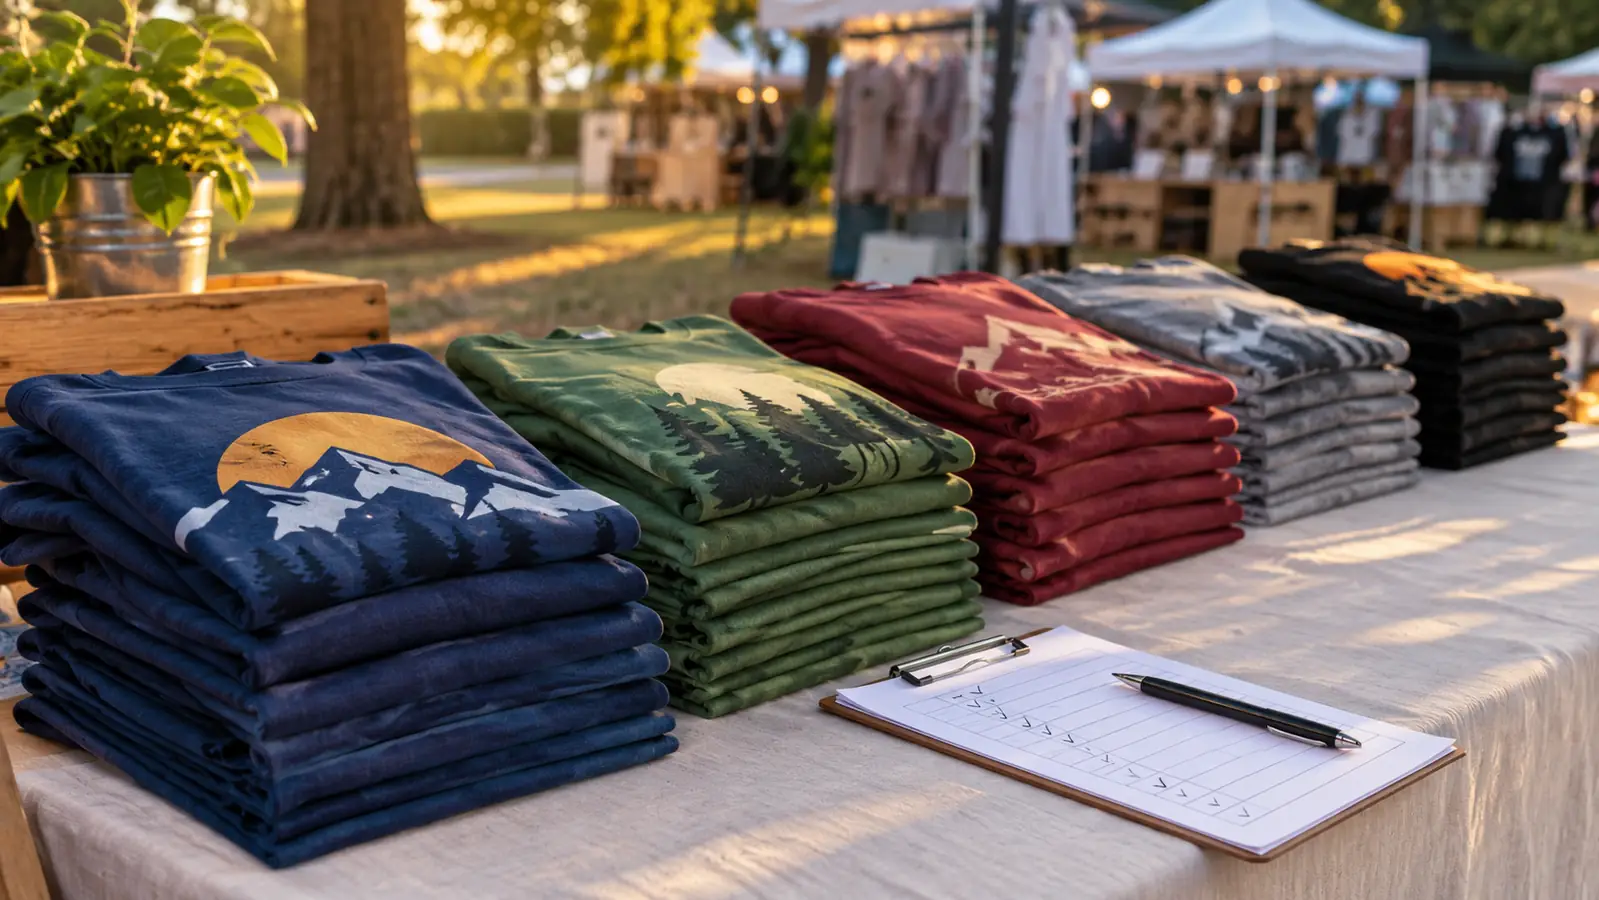
Before anything goes into the car for a craft fair, I lay the finished shirts out in stacks of ten and count the stacks. Glen loads the car, but the count is mine. That is not distrust. It is just that a shirt which never made it into the car becomes a customer email I have to write that same evening.
What Else Helps
A pressing pillow earns its place on the bench. It is a small padded cushion you slide inside the shirt so the platen presses a sleeve seam or a button placket flat instead of pressing a dent into it. Mine cost very little and it fixed the one part of a button down that always looked homemade.
Keep a sheet of protective paper or a Teflon sheet beside the machine. When you press a shirt that already carries a design, the top platen can pick up a little residue and leave a dull patch on the next garment. A sheet between the platen and the shirt prevents that completely, and it is a great deal cheaper than a remake.
Press a few practice shirts before you take a real order. I used thrift store blanks for a whole weekend when the press first arrived, testing time and temperature on cheap cotton until I could predict the result. Those practice shirts are the reason my first paid order went out the door without a single complaint, and they cost me almost nothing.
Know what this press will not do. It presses flat things, and that is the whole job. Mugs, tumblers, hats, and anything with a curve need different equipment entirely, usually a mug press or a hat attachment. I press flat shirts, tote bags, and the occasional apron on mine, and I send mug orders to a friend who owns the right machine. Buying the wrong equipment for an order costs more than politely turning the order down.
One practical note that has nothing to do with pressing. The warranty listed on this machine is 30 days, so register it the week it arrives and keep the box and the packing materials in the garage through that first month while you find out whether the unit is sound. Mine has been fine. But a month is a short window, and the box is the cheapest insurance you will ever store.
And write your settings down. I know I said that in Step 2. I am saying it again, because the most common thing I hear from people who bought an auto press and are unhappy with it is that they never recorded what worked. A spiral notebook and a pen will save you more shirts than any accessory on this list.
If You Are Still Counting Seconds in Your Head, Stop
The HTVRONT Auto Heat Press is a 15 by 15 inch machine that heats in about four minutes, holds its own time, and lifts on release. For the flat work most of us actually sell, it turns pressing from the hard part of the order into the easy part.
Amazon Check Today's Price on Amazon →