
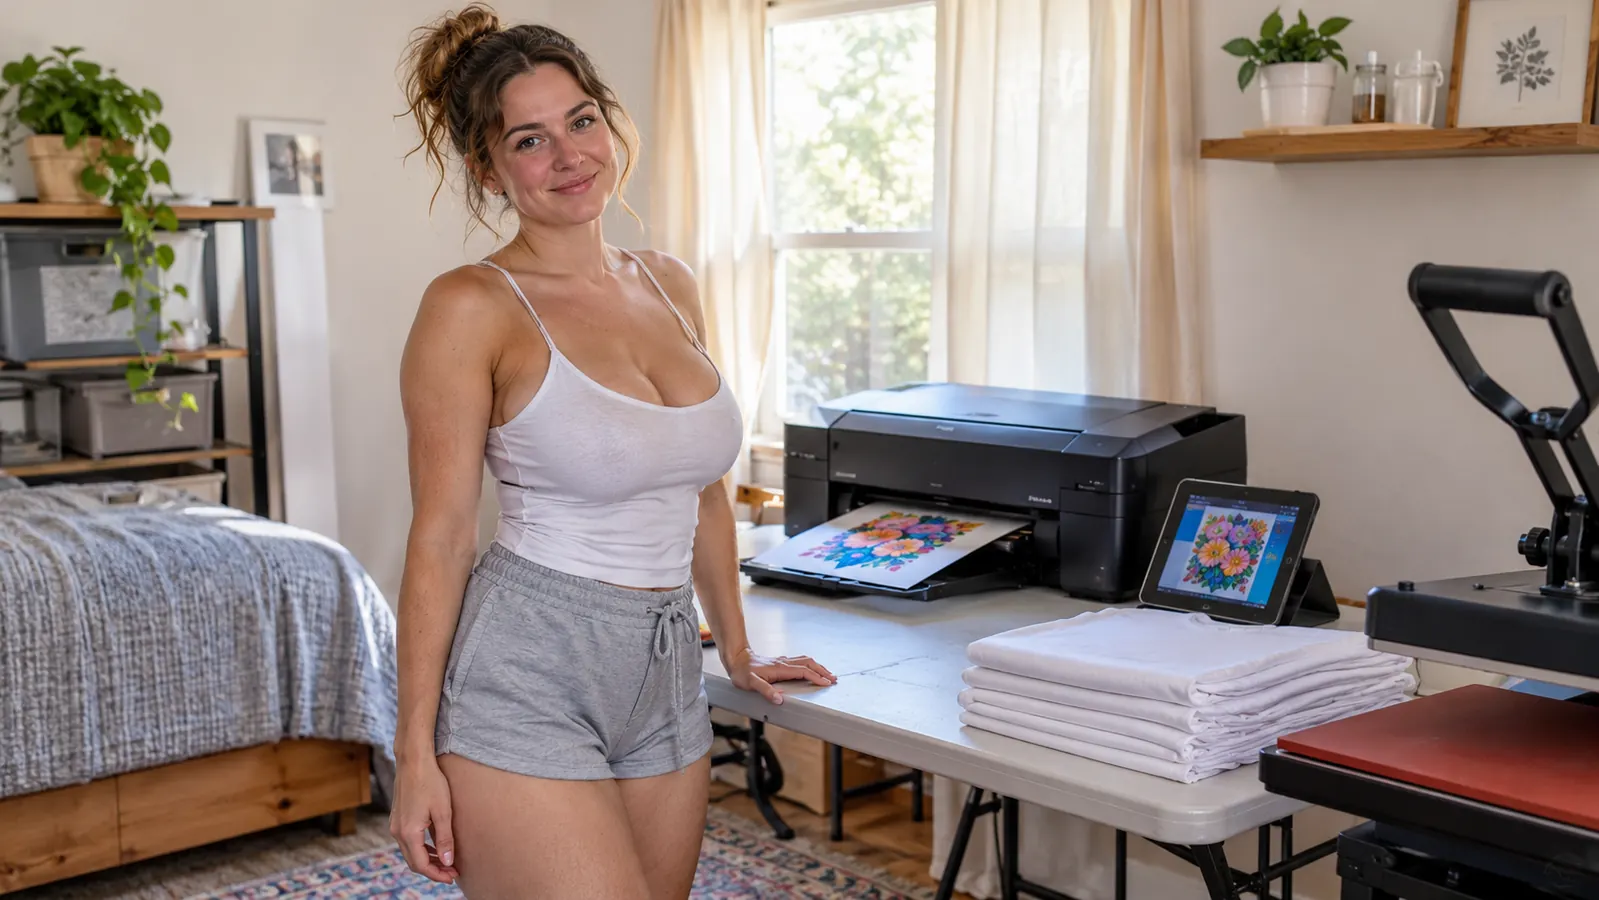
Two years into selling shirts at weekend craft fairs, I finally admitted that the worst part of my week was the forty minute drive to a print shop to pick up transfers. I would order on Monday, hope the colors came back the way I sent them, and find out on Thursday that a design had printed with a soft edge or a hem that landed half an inch off center. That was the year I bought the Brother Sublimation Printer and moved the whole job into the spare bedroom I call the press room. The drive stopped. The mistakes did not, at least not right away, because the printer was never the weak link.
Here is what I wish someone had told me before I unboxed it. A sublimation printer prints a sheet. That is the entire job it does. Whether that sheet becomes a shirt a customer wears for two years or a shirt that fades after one wash depends on five things you do around the machine: the design, the paper, the print, the press, and the peel. Get those five right and the Brother does its part without drama. Get any one of them wrong and you will blame the printer, which is exactly what I did for about three months.
Five steps, one sheet, and a shirt that survives the wash
The Brother Sublimation Printer handles the printing. Everything below is the part you control, and it is the part that decides whether your transfer looks like a product or a practice run.
Amazon Check Today's Price on Amazon →Step 1: Build the design in Artspira before you touch the printer
The Brother Sublimation Printer runs on the Artspira Creative App, on your phone or tablet. You download the app, create or import your design there, transfer it to the printer, print it, and take it to the press. That order matters more than it sounds. If you sit down at the machine first and try to work backward, you will spend twenty minutes hunting for a file you never actually finished.
Start with size, not art. Measure the printable area of the blank you are decorating before you open the app. A youth medium shirt front is not the same canvas as a mug wrap, and a design that looks centered on a phone screen can land low on the chest once it is pressed. I keep a small notebook with the finished dimensions for every blank I sell, and I check the design against those numbers before I do anything else. Twenty seconds of measuring has saved me more shirts than any other habit in this workflow.
Artspira lets you import and save up to 20 printing images, which sounds like a cramped little shelf until you realize it is plenty for one weekend fair. I keep my twenty slots as the designs I am actually selling that month and swap them out seasonally. One caution on lettering: a sublimation transfer presses face down onto the blank, so check your text on scrap fabric before you commit a dozen shirts. A design can read perfectly on a tablet and still come out wrong side around on cotton blend.
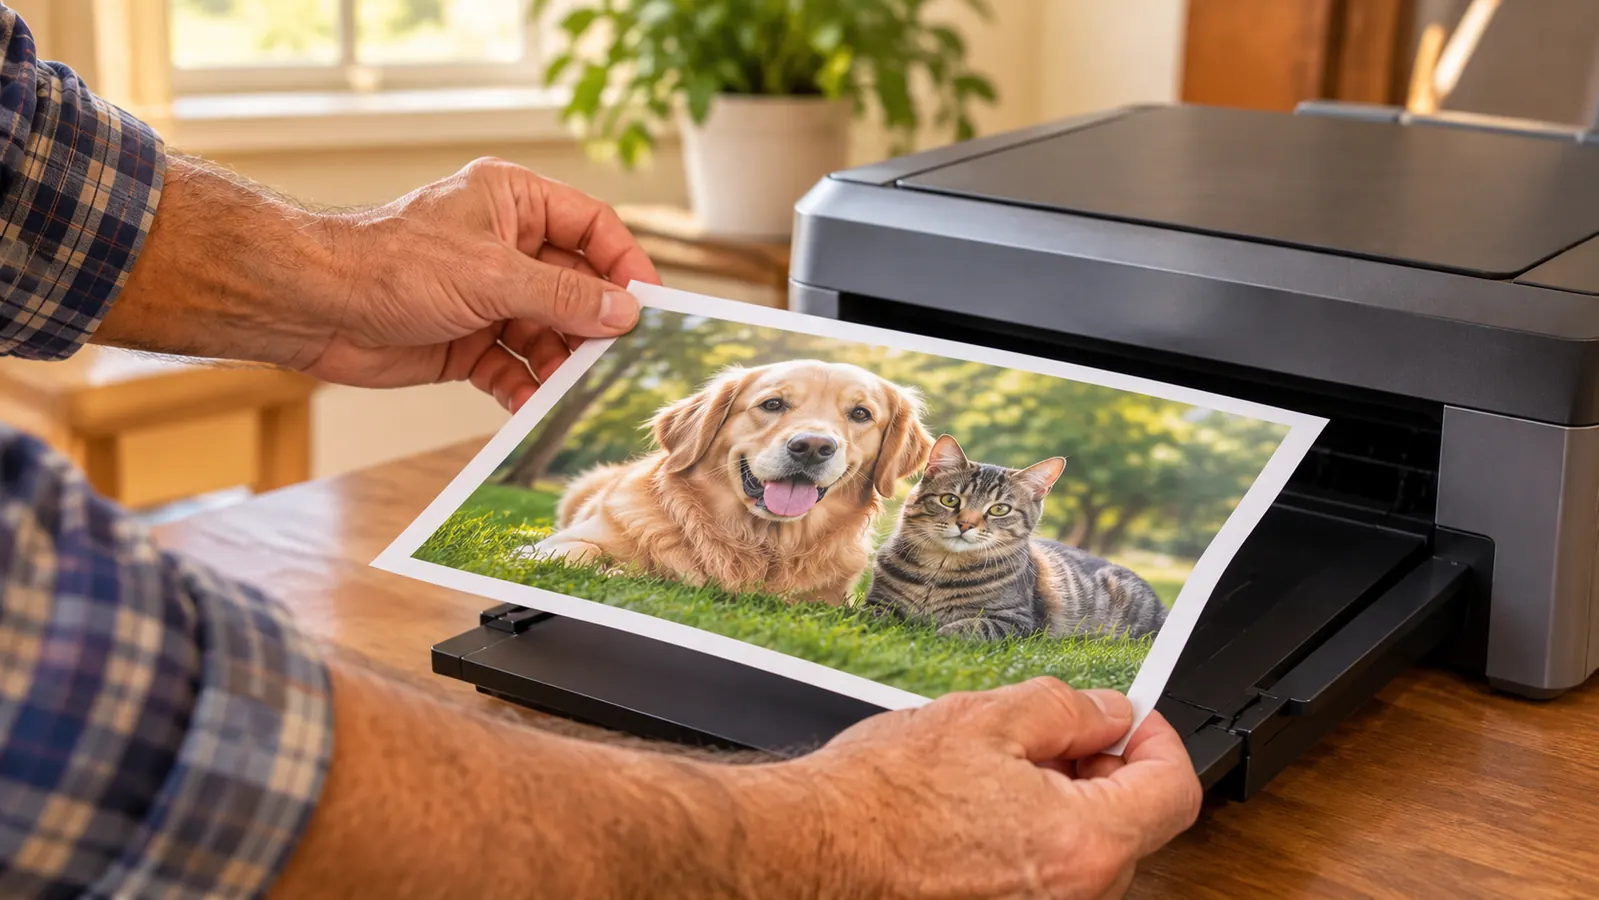
Step 2: Match the paper to the blank and load it flat
The printer takes fabric and thermal paper, and the sheet you feed it decides how much ink it can hold. Lightweight transfer paper suits high detail and small lettering. Heavier paper holds more ink for large blocks of color on polyester, which is where most beginners get a washed out result and blame the ink. I keep two weights on hand and I write the weight on the package with a marker, because the wrappers look identical once they are open.
Loading is where quiet problems start. Fan the stack before you load it, keep the sheets flat in the tray, and do not overfill. Here in Vancouver the humidity swings enough between October and March that paper will curl if it sits out overnight, and a curled sheet feeds at an angle. If a print comes out with one edge drifting, take the paper out, flatten it under a book for ten minutes, and try again before you touch any settings.
Then there is the side question. Transfer paper has a coated side that takes the ink and a plain side that does not. Every brand marks it differently, with a logo, a tint, or a slightly different sheen. Find the mark once, write it on the package, and check it every single time. I ruined an entire booster club order by loading six sheets plain side up while I was talking on the phone.
Step 3: Print one test sheet before you print the stack
Print a single sheet first. Not because the Brother is unreliable, but because the sheet tells you things the screen cannot. Check the output for banding, for a soft edge on fine lines, and for any color that looks noticeably lighter than the rest. If something is off, the fix is usually a nozzle check and a cleaning cycle, and it is much cheaper to find that out on one scrap sheet than on eight shirts worth of transfers.
Expect the sheet to look dull. Sublimation ink on paper is flat and slightly muted, and that is normal. The color you see on the page is not the color the blank will show, because the transfer only develops once heat turns the ink into gas and it bonds with the polyester. A transfer that looks underwhelming on paper can press bright and rich. A transfer that looks blotchy or uneven on paper will always press blotchy.
Handle the printed area as little as possible and let the sheet dry flat for a few minutes before it goes anywhere near the press. Store printed sheets face up in a folder if you are batching. Print the same day you press when you can, because paper that has sat in humid air for a week will not release as cleanly.
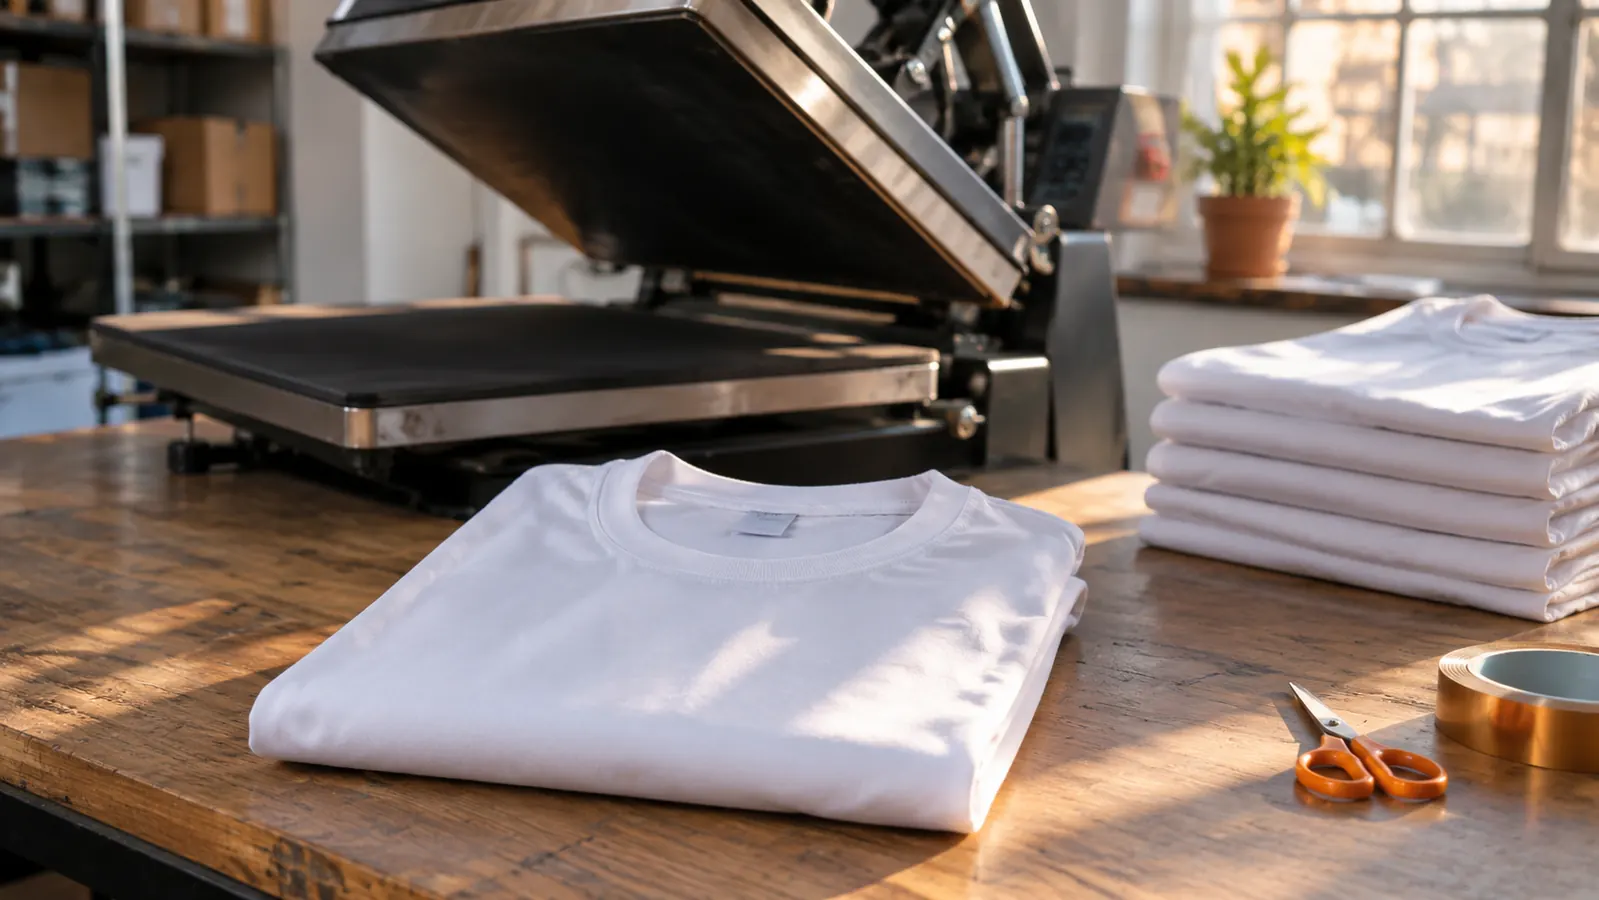
Step 4: Set the heat press before the first sheet comes out
Turn the press on before you start printing. It takes longer to come up to temperature than the Brother takes to print a sheet, and standing there waiting with a hot transfer in your hand is how people rush and scorch things. I set the press, then start the print job, and by the time the sheet lands the platen is ready.
Pre press the blank for a few seconds to push out moisture. This is the single step I skipped for the longest time and it caused more ghosted, patchy prints than any other mistake. A shirt that feels dry still holds water, and that water turns to steam under the press and blocks the ink from bonding. Five seconds of prepress on an empty platen, then let the shirt cool for a moment before the transfer goes down.
Protect the bottom platen with a sheet of butcher paper or a pressing mat. Ink that migrates through the blank will print itself onto the platen and then onto the back of every shirt you press afterward. I learned that one the hard way and spent an evening scrubbing a press with a rag and a lot of patience. Follow the temperature and time your paper and blank manufacturer lists, since those numbers vary by paper weight, and write your working settings on a card taped to the wall.
Step 5: Press, peel, and wash test before you sell
Lay the blank flat and smooth, place the transfer printed side down exactly where you want it, and tape two corners so it cannot shift when the press closes. Cover it with a sheet of butcher paper to keep ink off the upper platen. Close the press, apply firm even pressure, and start your timer. Do not open the press early to peek. Lifting the platen mid press is a reliable way to get a faint double image you cannot fix.
Peel according to your paper. Some release best while still warm, some need to cool completely, and the difference shows up as either a clean edge or a patchy one. Test one scrap before you do a run. If the paper drags or the print looks mottled at the edge, you peeled at the wrong temperature, and knowing which way your paper wants it is worth more than any setting tweak.
Then wash test something. I keep a small bin of test pieces pressed on the same blank and washed inside out on a gentle cycle before anything goes into a customer order. A transfer that looks perfect in the press room can dull after the first wash if the pressure was light or the blank was not fully dry. This one habit has caught three bad batches that would otherwise have gone out to a booster club, and catching that is worth more than the ten minutes it costs.
What Else Helps
Give the machine a real surface. The Brother Sublimation Printer is 7.9 pounds and about 20 inches wide, 19 inches tall, and 10.8 inches deep, which fits comfortably on a folding table, but only if the table is not already loaded with blanks, tape, and half finished mugs. I cleared a dedicated table and my error rate dropped for reasons that had nothing to do with the printer. A crowded surface means bumped sheets and crocked transfers.
Keep a log. Every blank, every paper weight, every press temperature and time, and one note on how it came out. It feels fussy for the first week and then it becomes the most useful thing in the room, because the day a customer asks for forty shirts in the same style as a previous order, you have the exact recipe instead of a guess. I also photograph each finished piece on a plain background, which has turned into a decent little catalog I use when pitching to local teams.
And be realistic about volume. This is a home dye sublimation printer, not a production floor unit, and it is happiest when you feed it steady batches with a break in between. I print in runs of ten to twenty sheets, let the machine rest, and press while the next run goes. That rhythm keeps the whole process calm, and calm is what stops the silly mistakes that cost you a shirt.
The printer was never my problem. The paper, the pressure, and the ten seconds I shaved off the peel were my problem every single time.
Move the transfer job out of the car and into the spare room
The Brother Sublimation Printer handles the sheet. You handle the five steps around it. Do both and the shirt comes out of the wash looking like the one you showed the customer.
Amazon Check Today's Price on Amazon →